![]()
Set clear expectations for your team by entering the deadline for each task in the Due Date column.
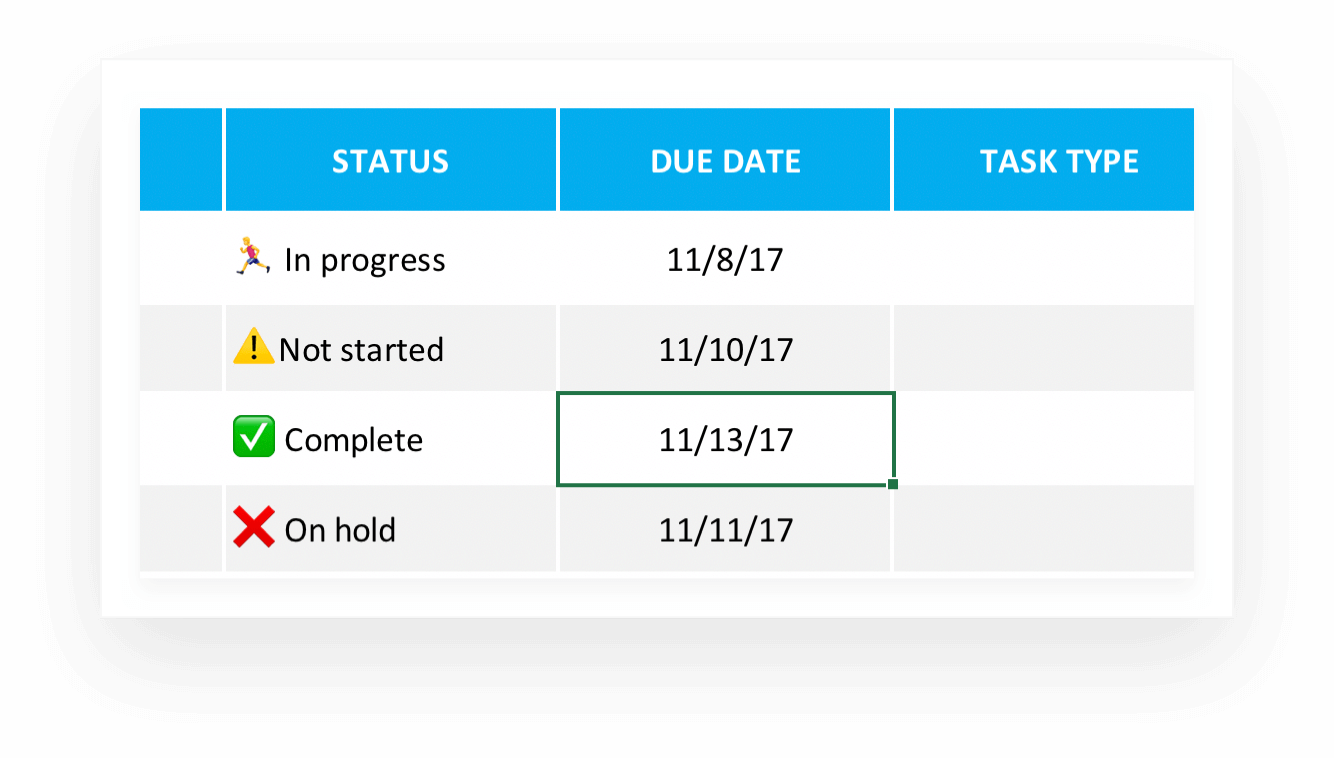
Start by specifying which team or department will carry out the work using the Task Type column. Then pair each task with its rightful owner by entering the team member’s name into the Assigned to column.
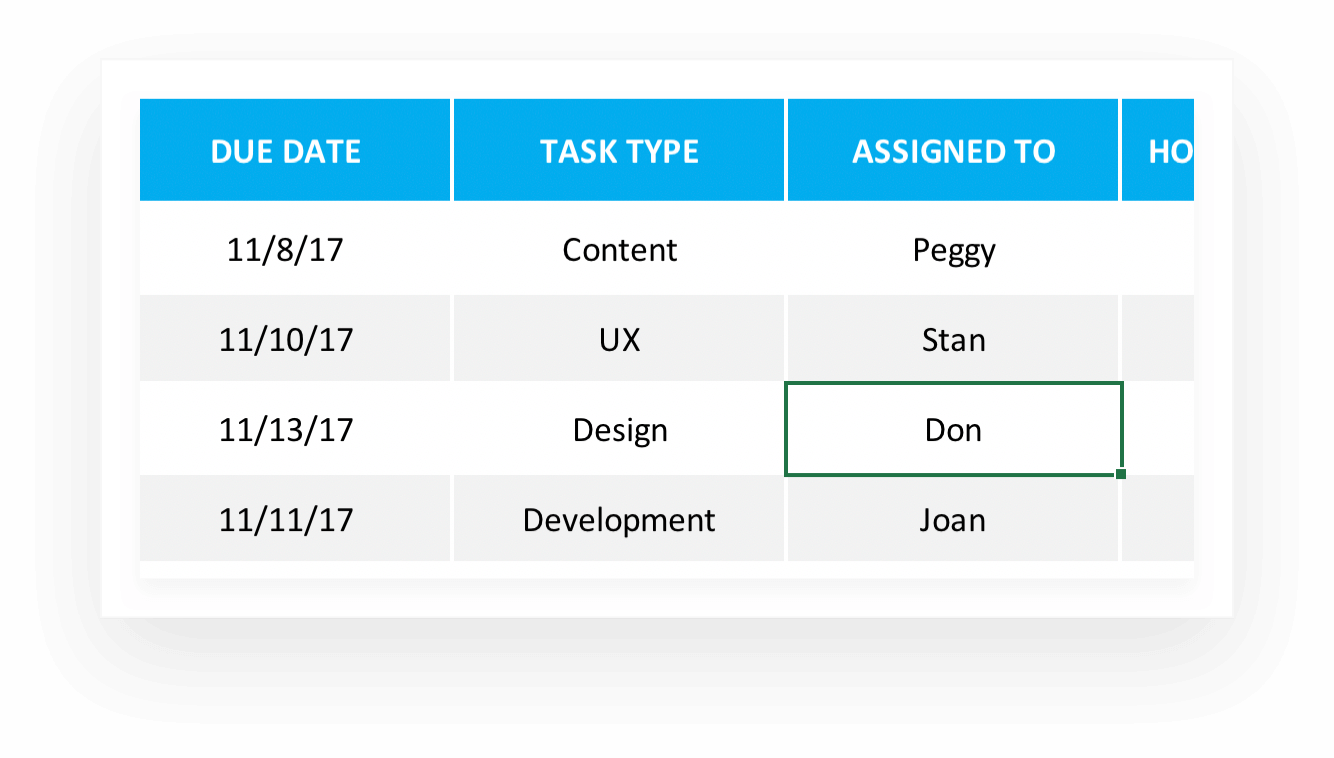
Use the Hours Budgeted column to let team members know how much time has been budgeted for each task.
Once a task is complete, log the time spent on it in the Actual Hours column.

We’ve designed this task tracker template to track your weekly to-do list. But you can create additional task lists for monitoring daily and monthly to-dos.
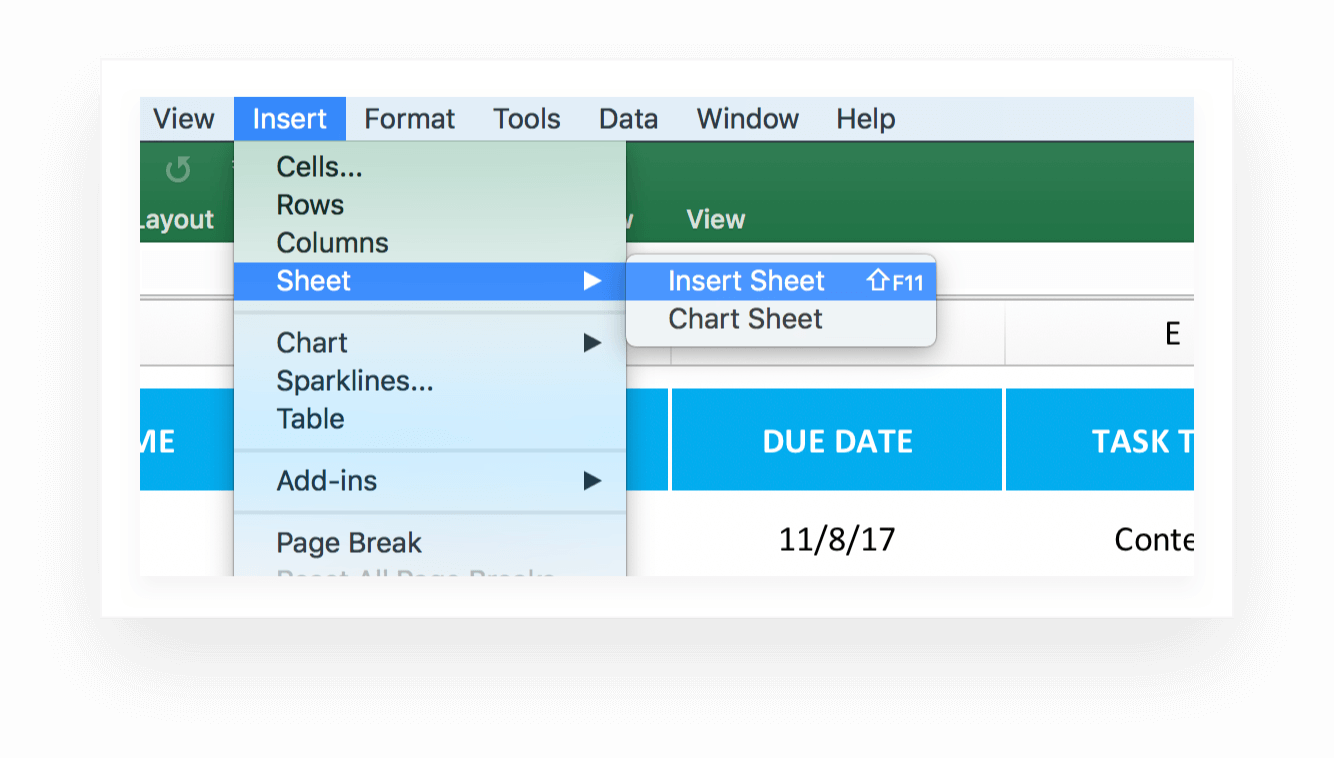
Click Insert > Sheet > Blank Sheet to add a new worksheet. Then give each row and column a header label, and use the formatting tools to design your own daily or monthly task tracker.
Once you’ve got the basics squared away, feel free to customize your Excel task list template to ensure it fits your project needs. You can add a title, switch up the colors, add or delete new rows and columns, or even dress your to-do list up with your company logo.
We’ve titled this checklist template “Weekly Task List.” As exciting as that moniker may be, we bet you’ll want to give your to-do checklist your own snazzy (and specific) name.
1. To add or edit the title of your project task list template, double-click your cursor into cell A-2.
2. Enter a new title for your task list. Feel free to include the project name and date range in your title so there’s no doubt what this task tracker covers.
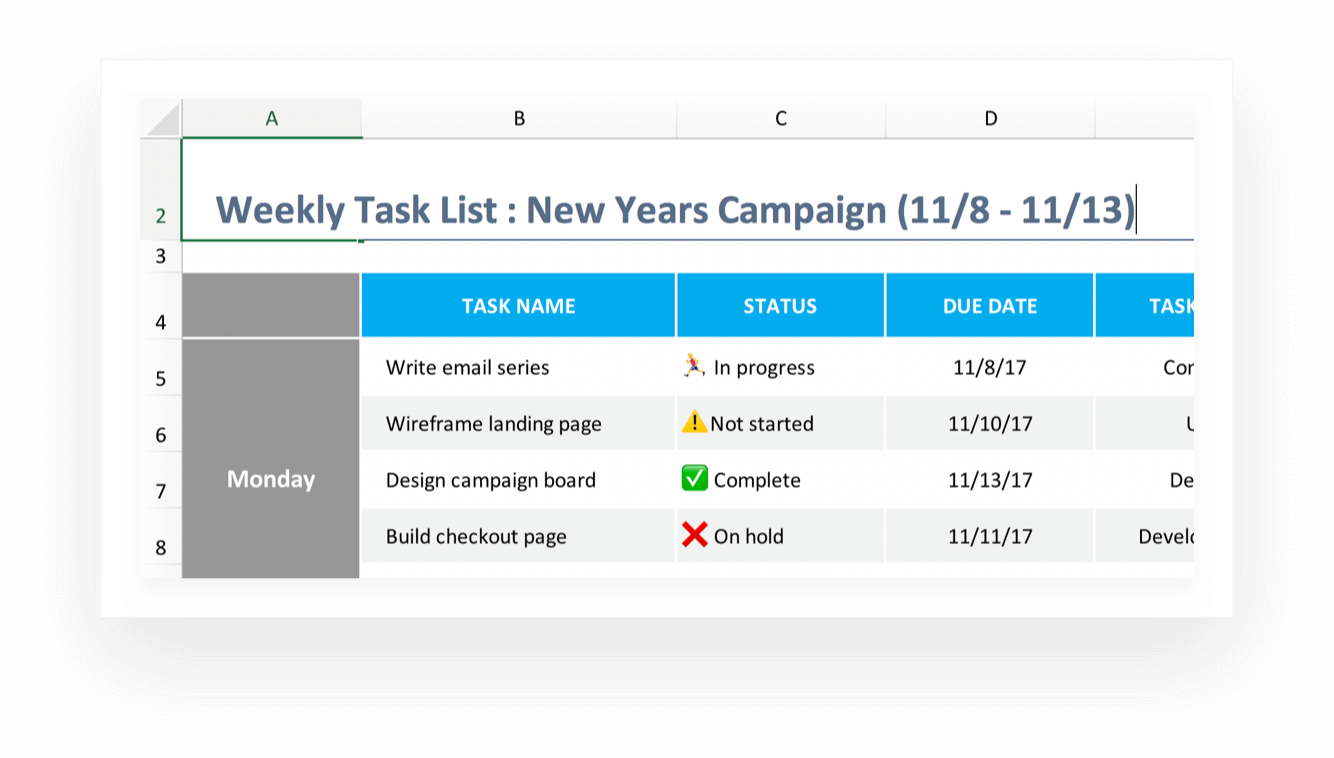
3. Format the header text using the same formatting tools you’d use to format any other text in the worksheet.
Want to apply your own brand colors to your task list? Or make it easy to tell Tom’s tasks from Bill’s? No problem!
1. Click to highlight the cell, row, or column you want to change.
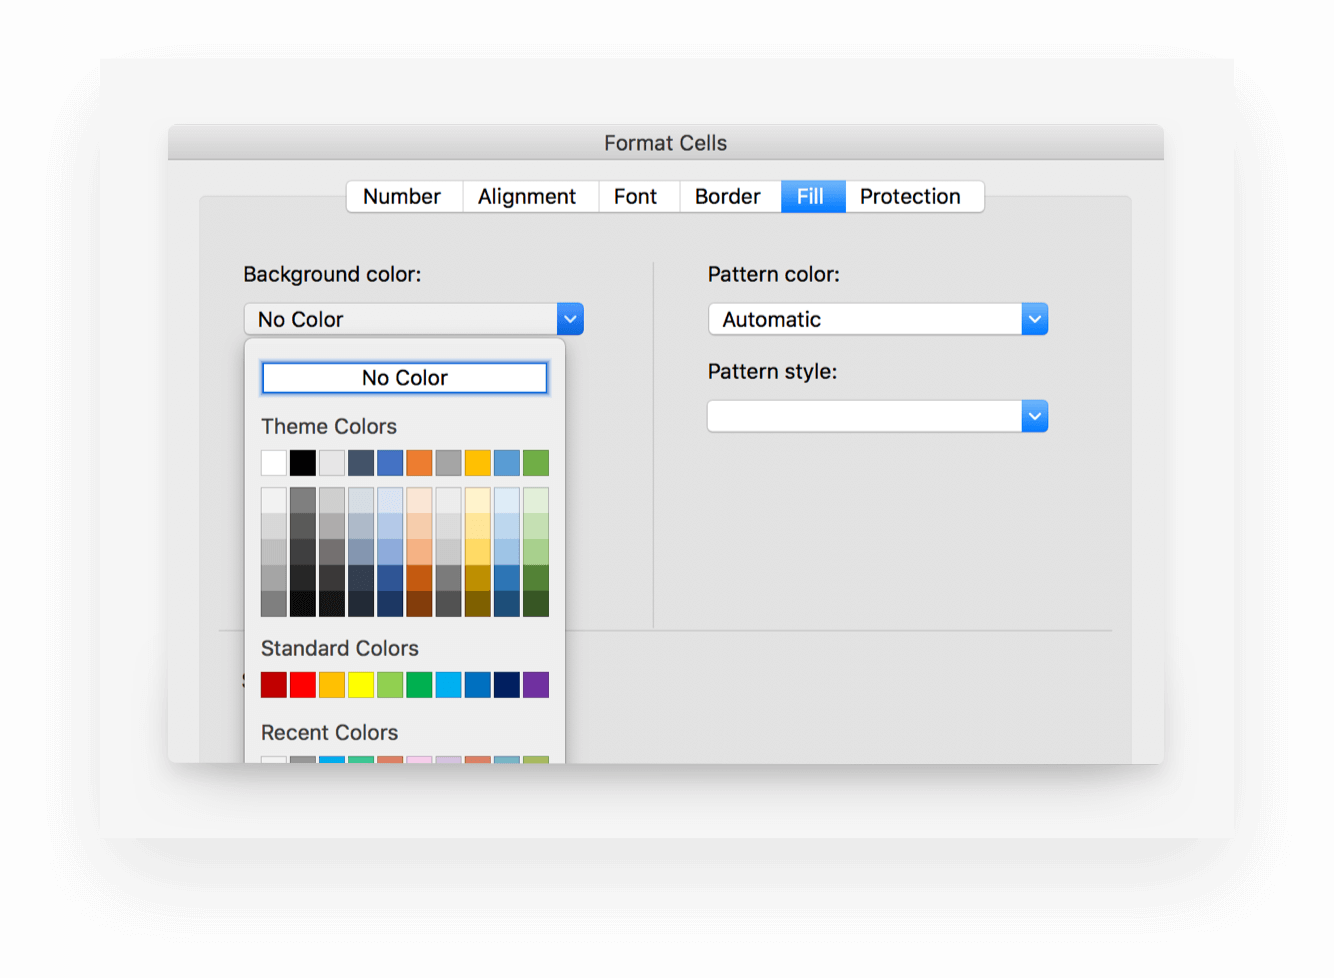
2. Go to Format > Cells, and select the Fill tab.
3. Click on the Background Color dropdown, and choose the new color you want to apply to the cell, row or column you’ve highlighted.
We’ve outlined a few basic to-do list categories to get you started. But there may be other details you need to track along the way. For example, you might want to add a priority column. Or maybe your Monday has a lot more to-dos than the other days of the week.
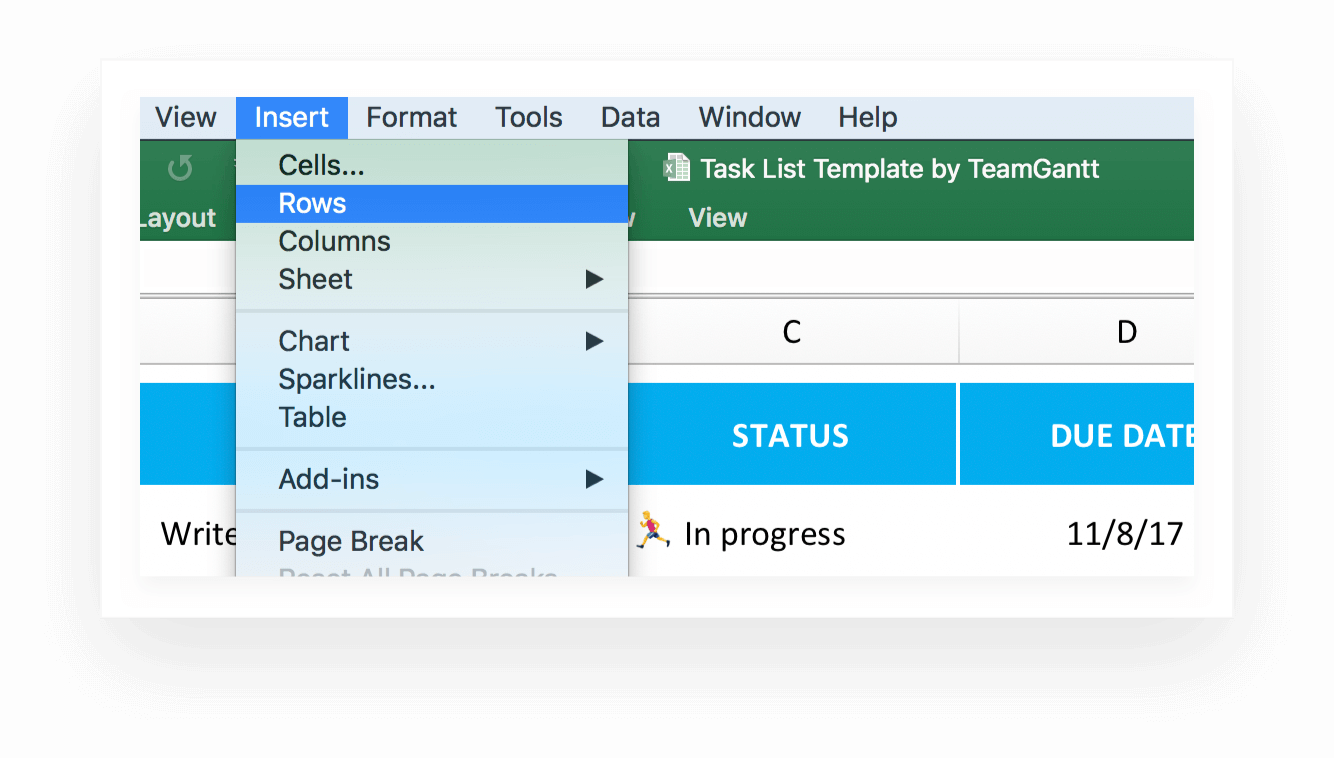
1. To insert a new row, click Insert >Rows. A new row will be added above the one you currently have selected, using the same formulas and formatting of the row above.
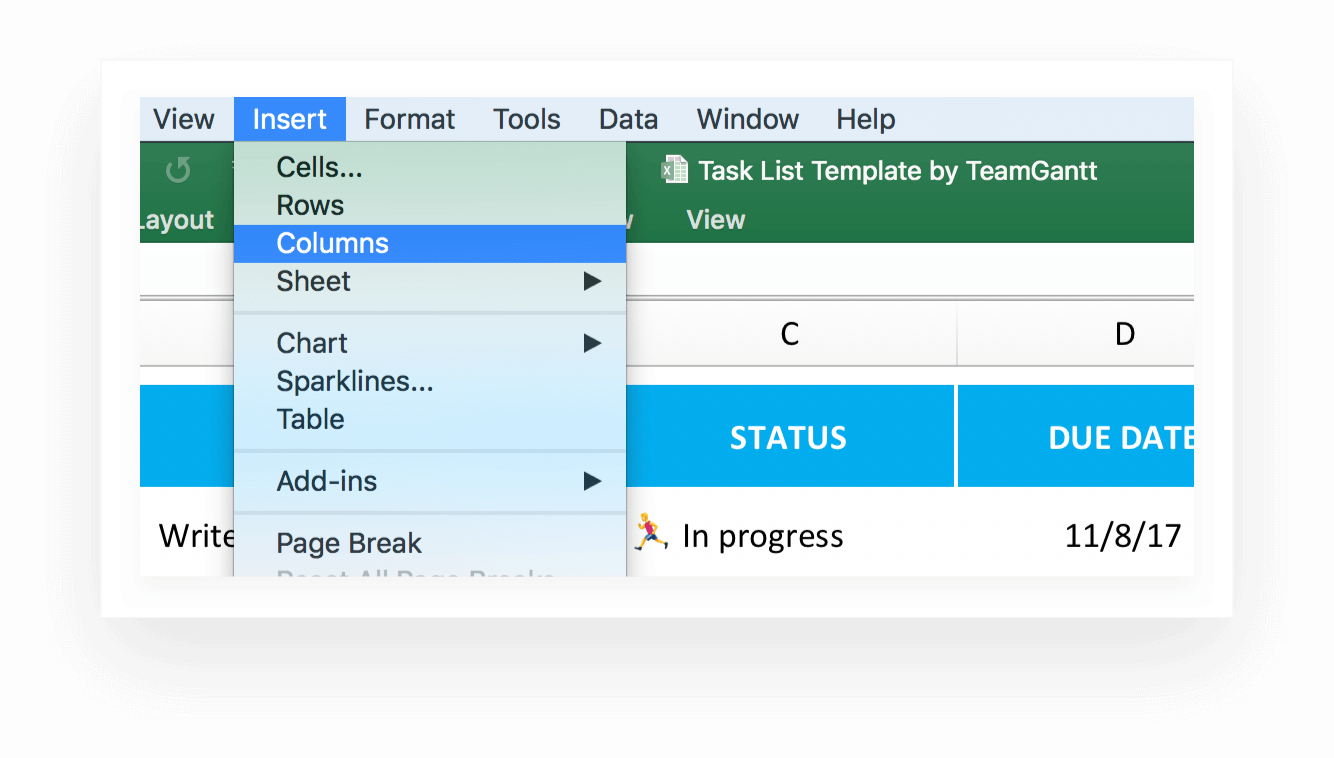
2. To insert a new column, go to Insert >Columns. A new column will be added to the left of the one you currently have selected, using the same formulas and formatting of the column to the left.
We may have included details you simply don’t need to track. That’s okay! Deleting extra info won’t hurt our feelings a bit.
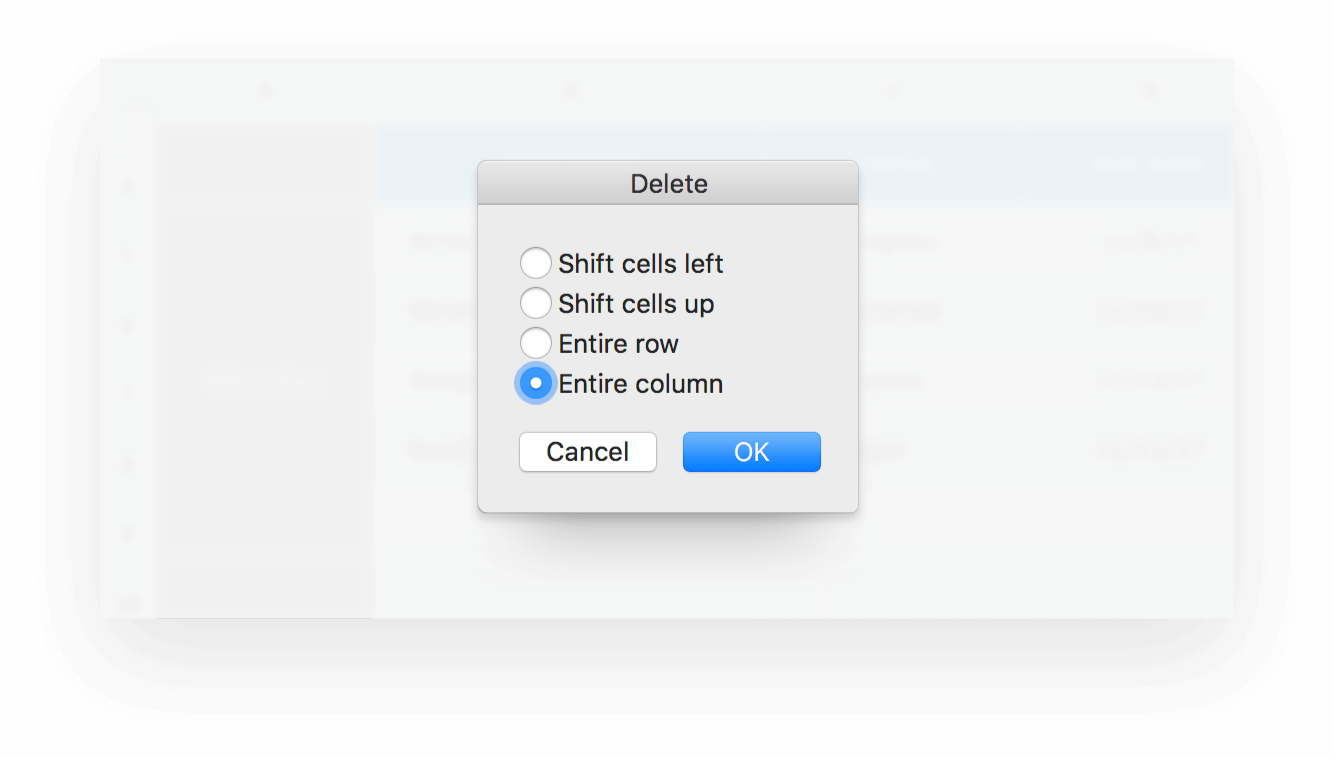
1. To delete an existing row, click on the row you want to remove. Go to Edit >Delete, and choose Entire Row.
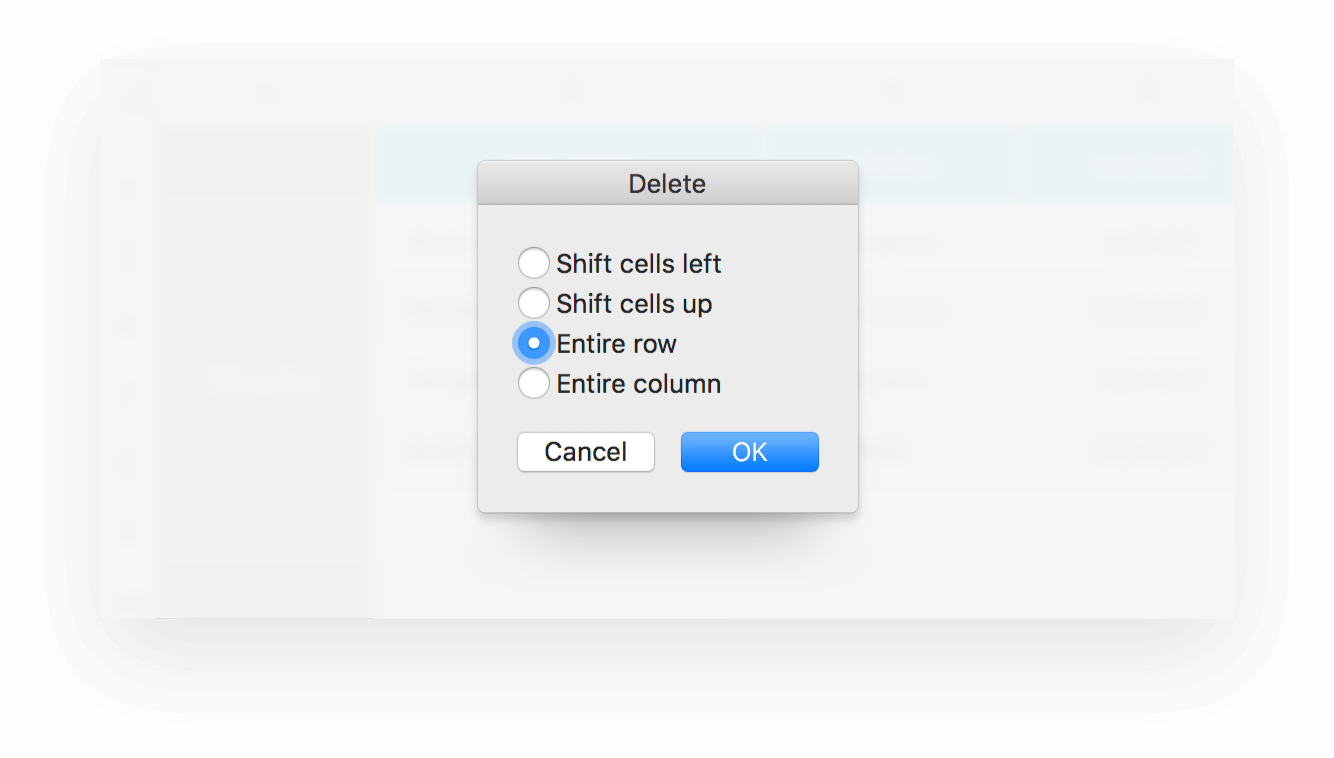
2. To delete an existing column, click on the column you want to remove. Go to Edit >Delete, and choose Entire Column.
Want to give your project task list template some more flair? Add your company logo to the worksheet.
1. Right-click on the TeamGantt logo/header image in row 1, and select Change Picture.

2. Choose the image file you want to add to the worksheet, and click the Insert button.
By the time you finish customizing your to-do list template, it’ll be so pretty you just might want to print it out and pin it to the wall—and we don’t blame you.
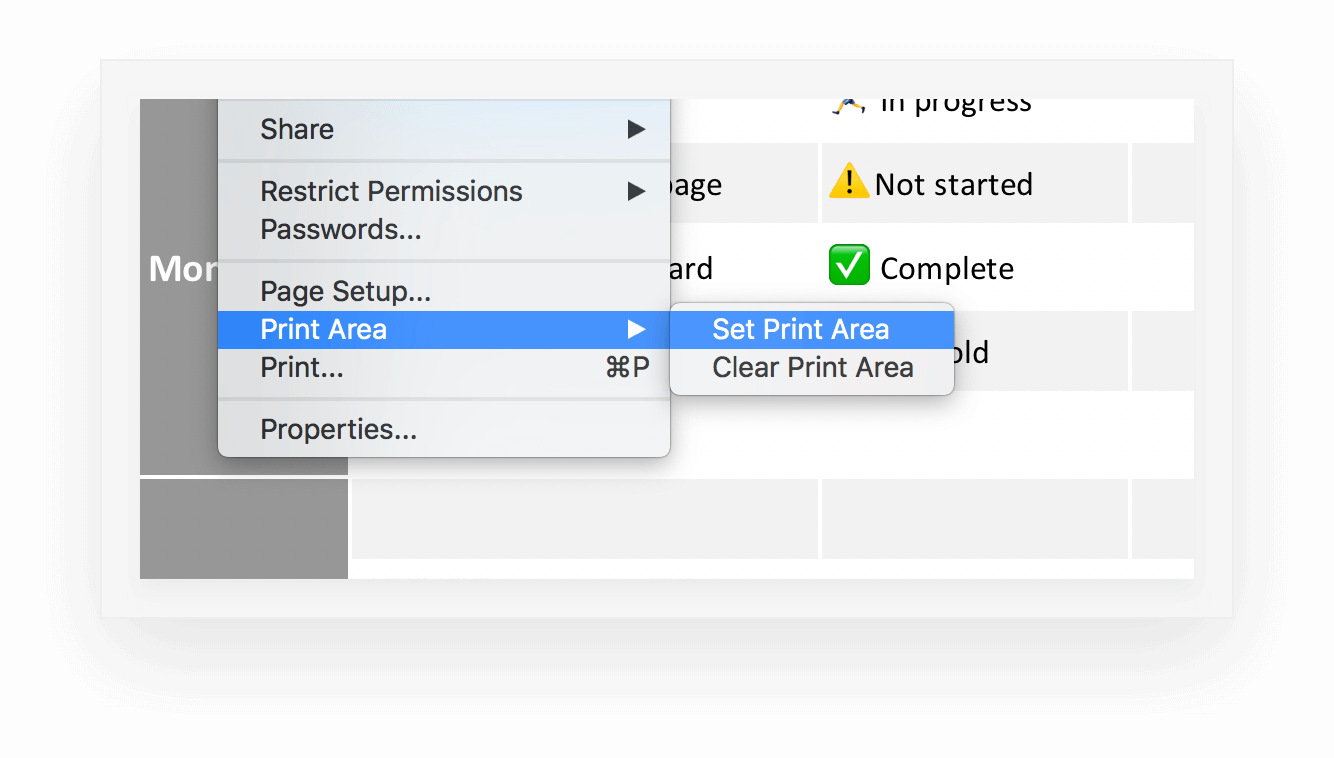
1. First, let’s set the print area. Simply click and drag your cursor to highlight all the cells you want to print out. Then go to File > Print Area > Set Print Area.
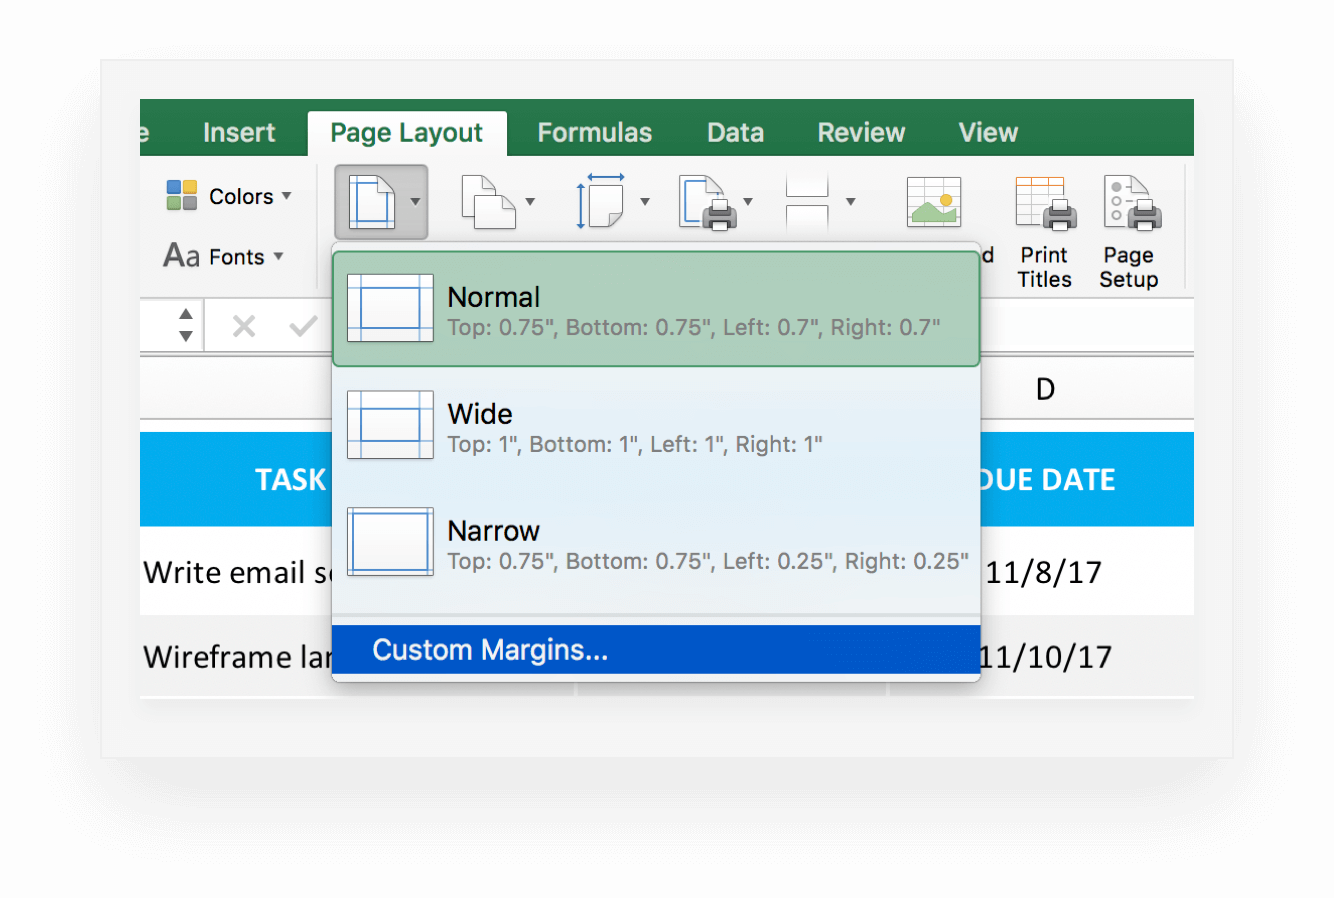
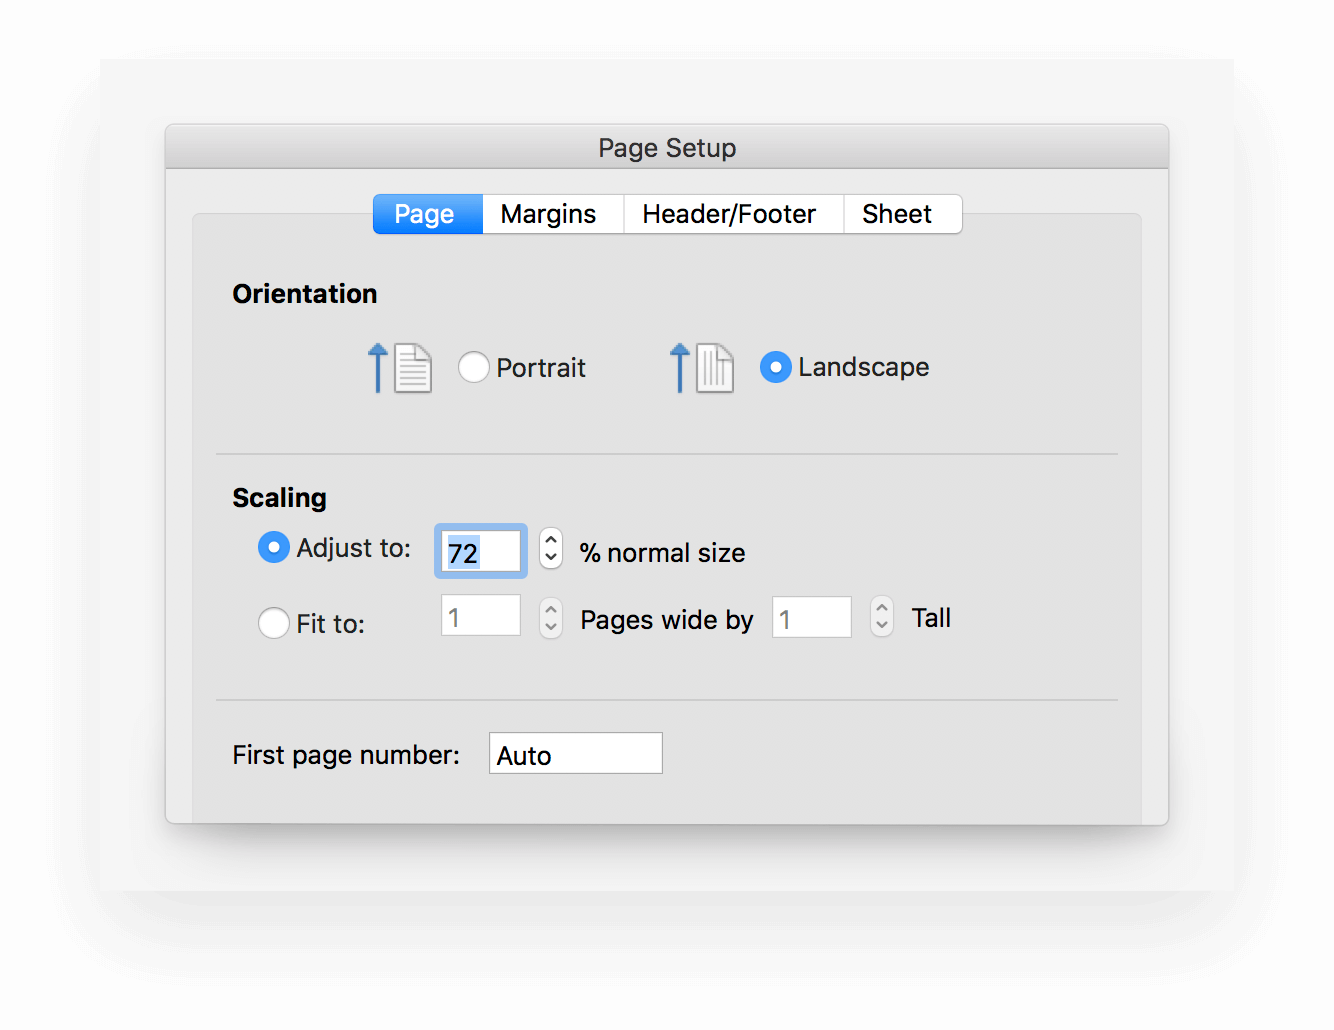
2. If you want to adjust the scale of the checklist to fit on a single page, click on the Page Layout tab. Then go to Margins > Custom Margins and select the Page tab.
3. Once you’ve set the print area and adjusted the scale of your checklist, you’re ready to send your task list to the printer. Click File > Print.
Want to take the tedium out of task lists? Give TeamGantt’s online gantt chart software a try, and create a customized task tracker in minutes.
With TeamGantt, it’s easy to collaborate on work and streamline workflows. Here are just a few of the handy features you—and your team—will have at your fingertips:
And because TeamGantt is all online, everyone on the team can update tasks in real-time. No more juggling a million different spreadsheets or scrambling to capture last-minute updates before a big meeting!
Sign up for your free account and get started. (No strings attached, we promise!) Once you’re in, here’s a sneak peek at just how easy it is to create and manage task lists in TeamGantt.
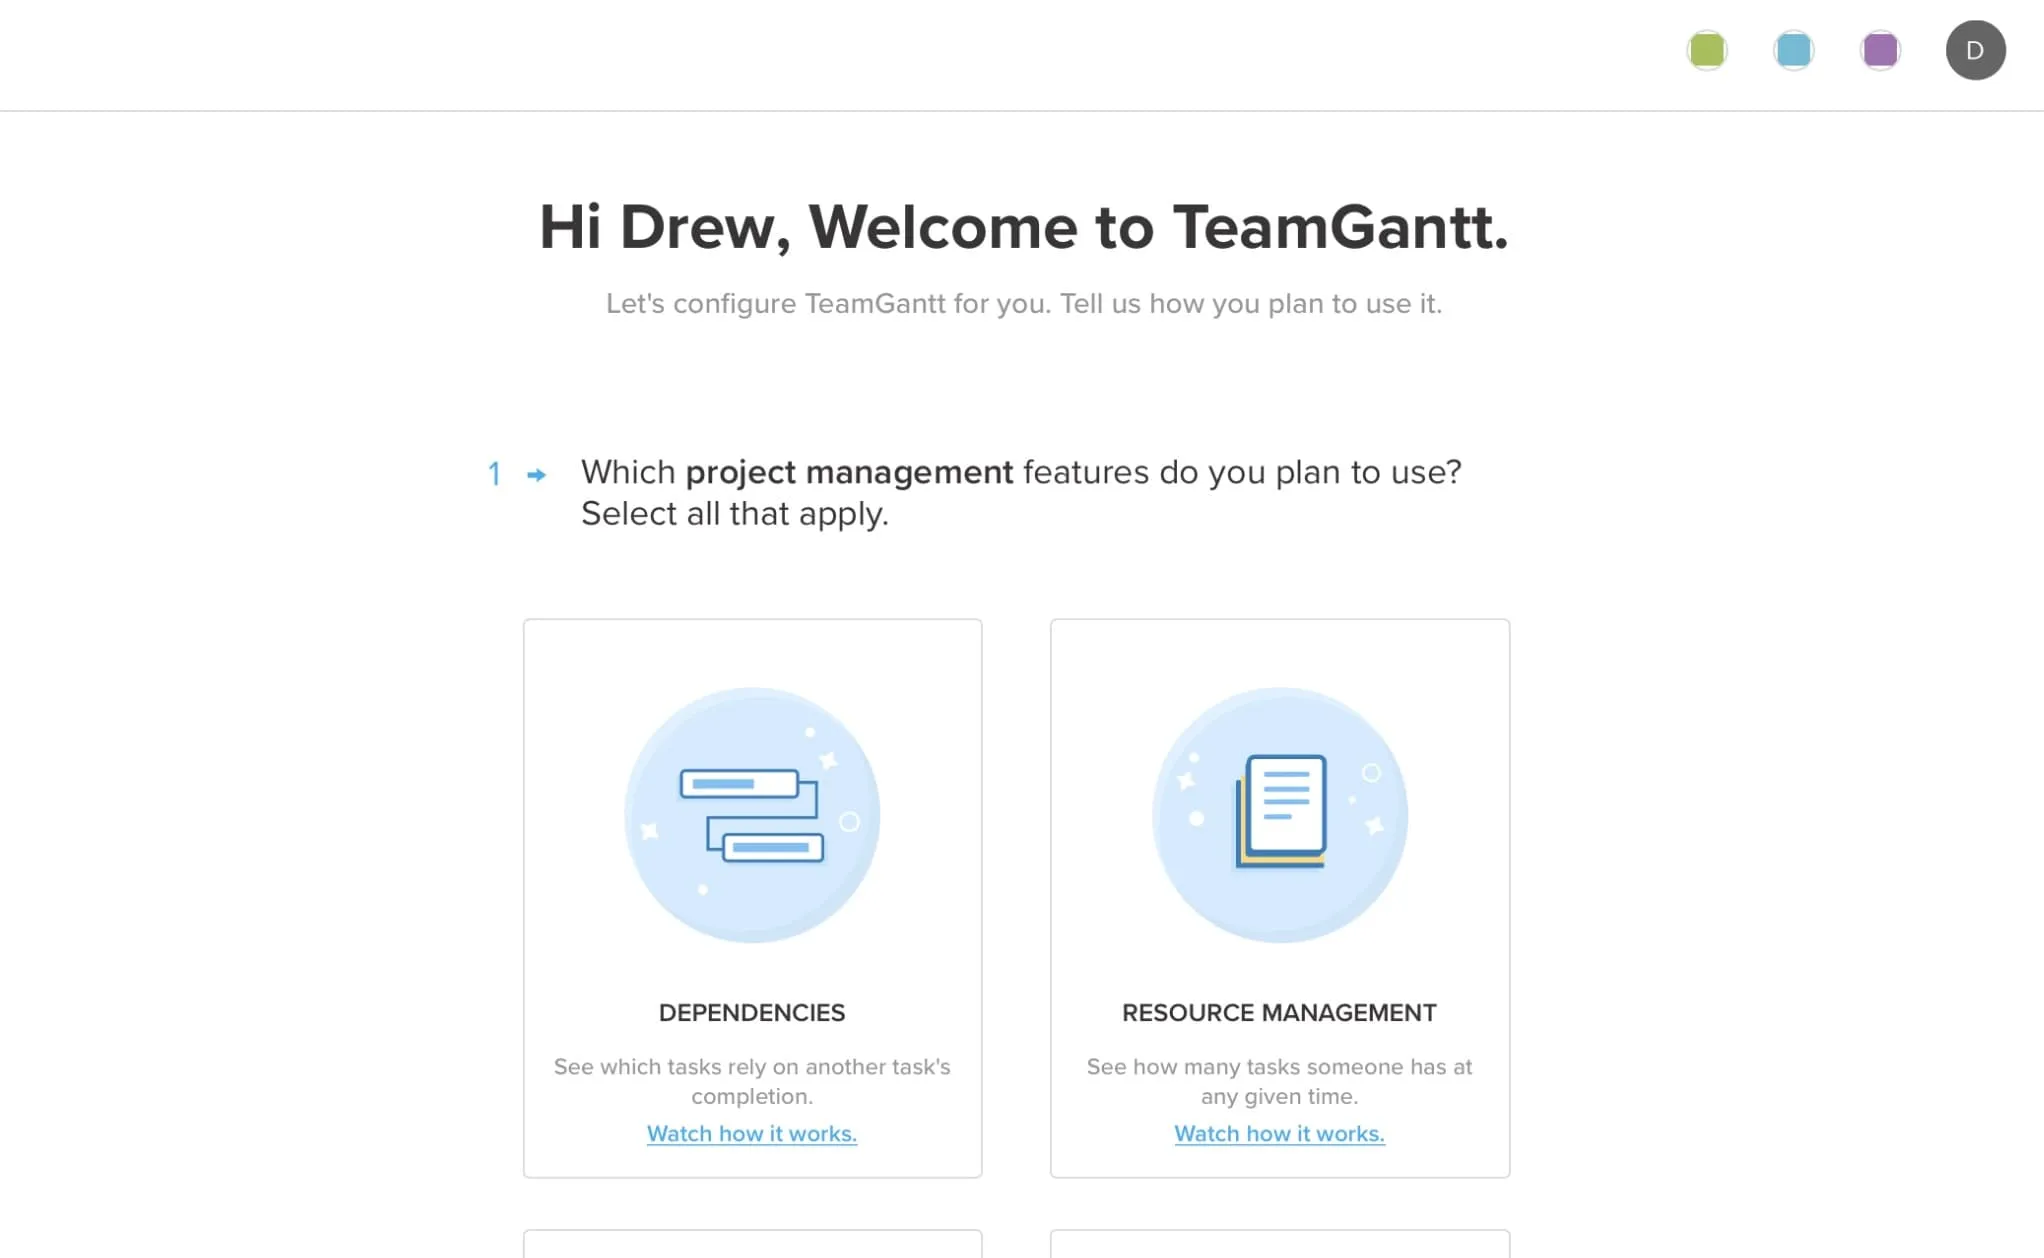
Before you can set up tasks, you’ll need to answer a few quick onboarding questions and then create a new project.
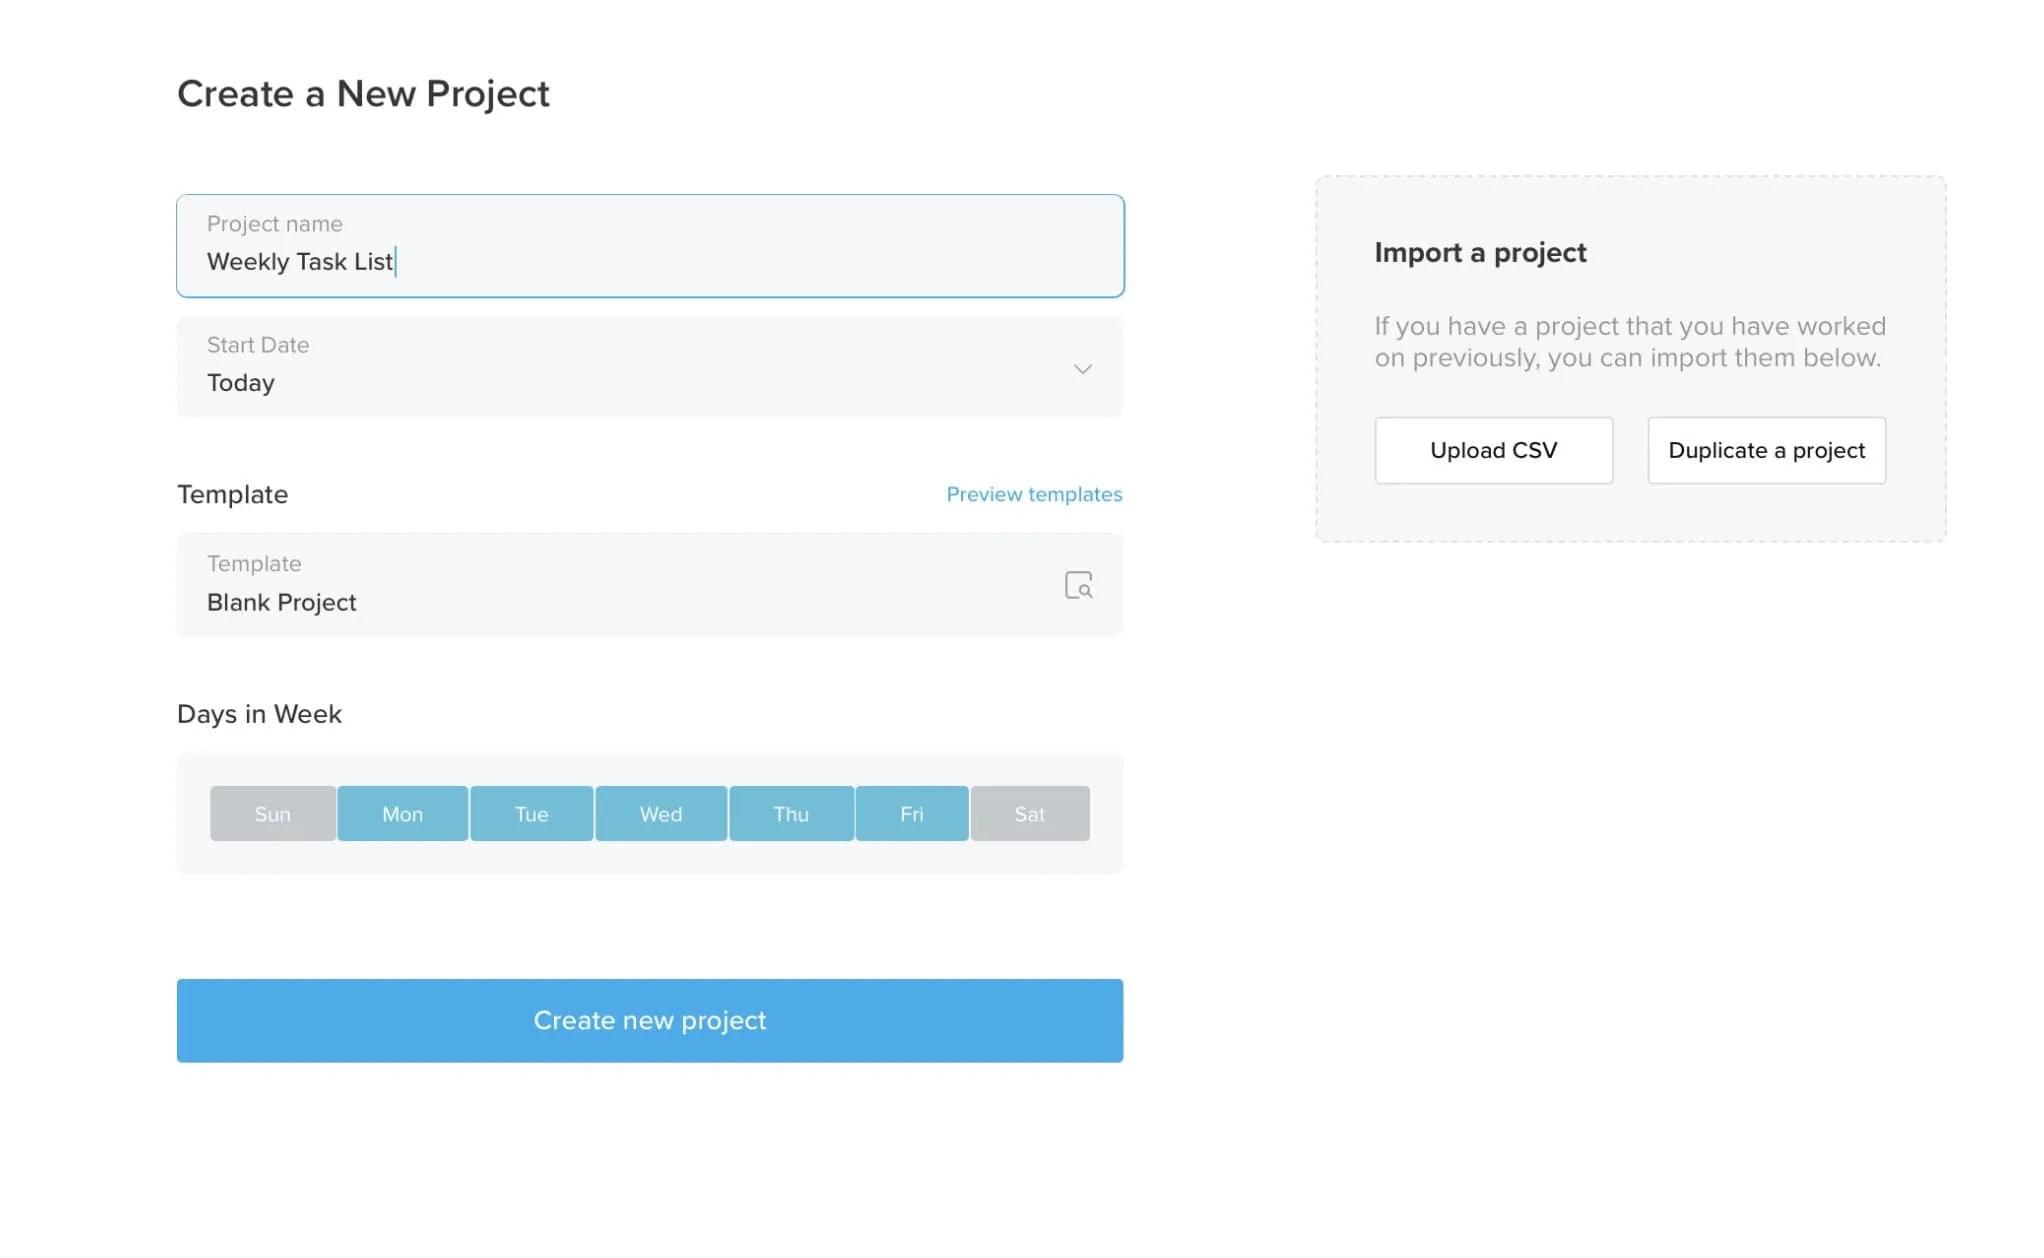
1. Start by entering a descriptive name for your project on the project setup page. We called our example project “Weekly Task List.”
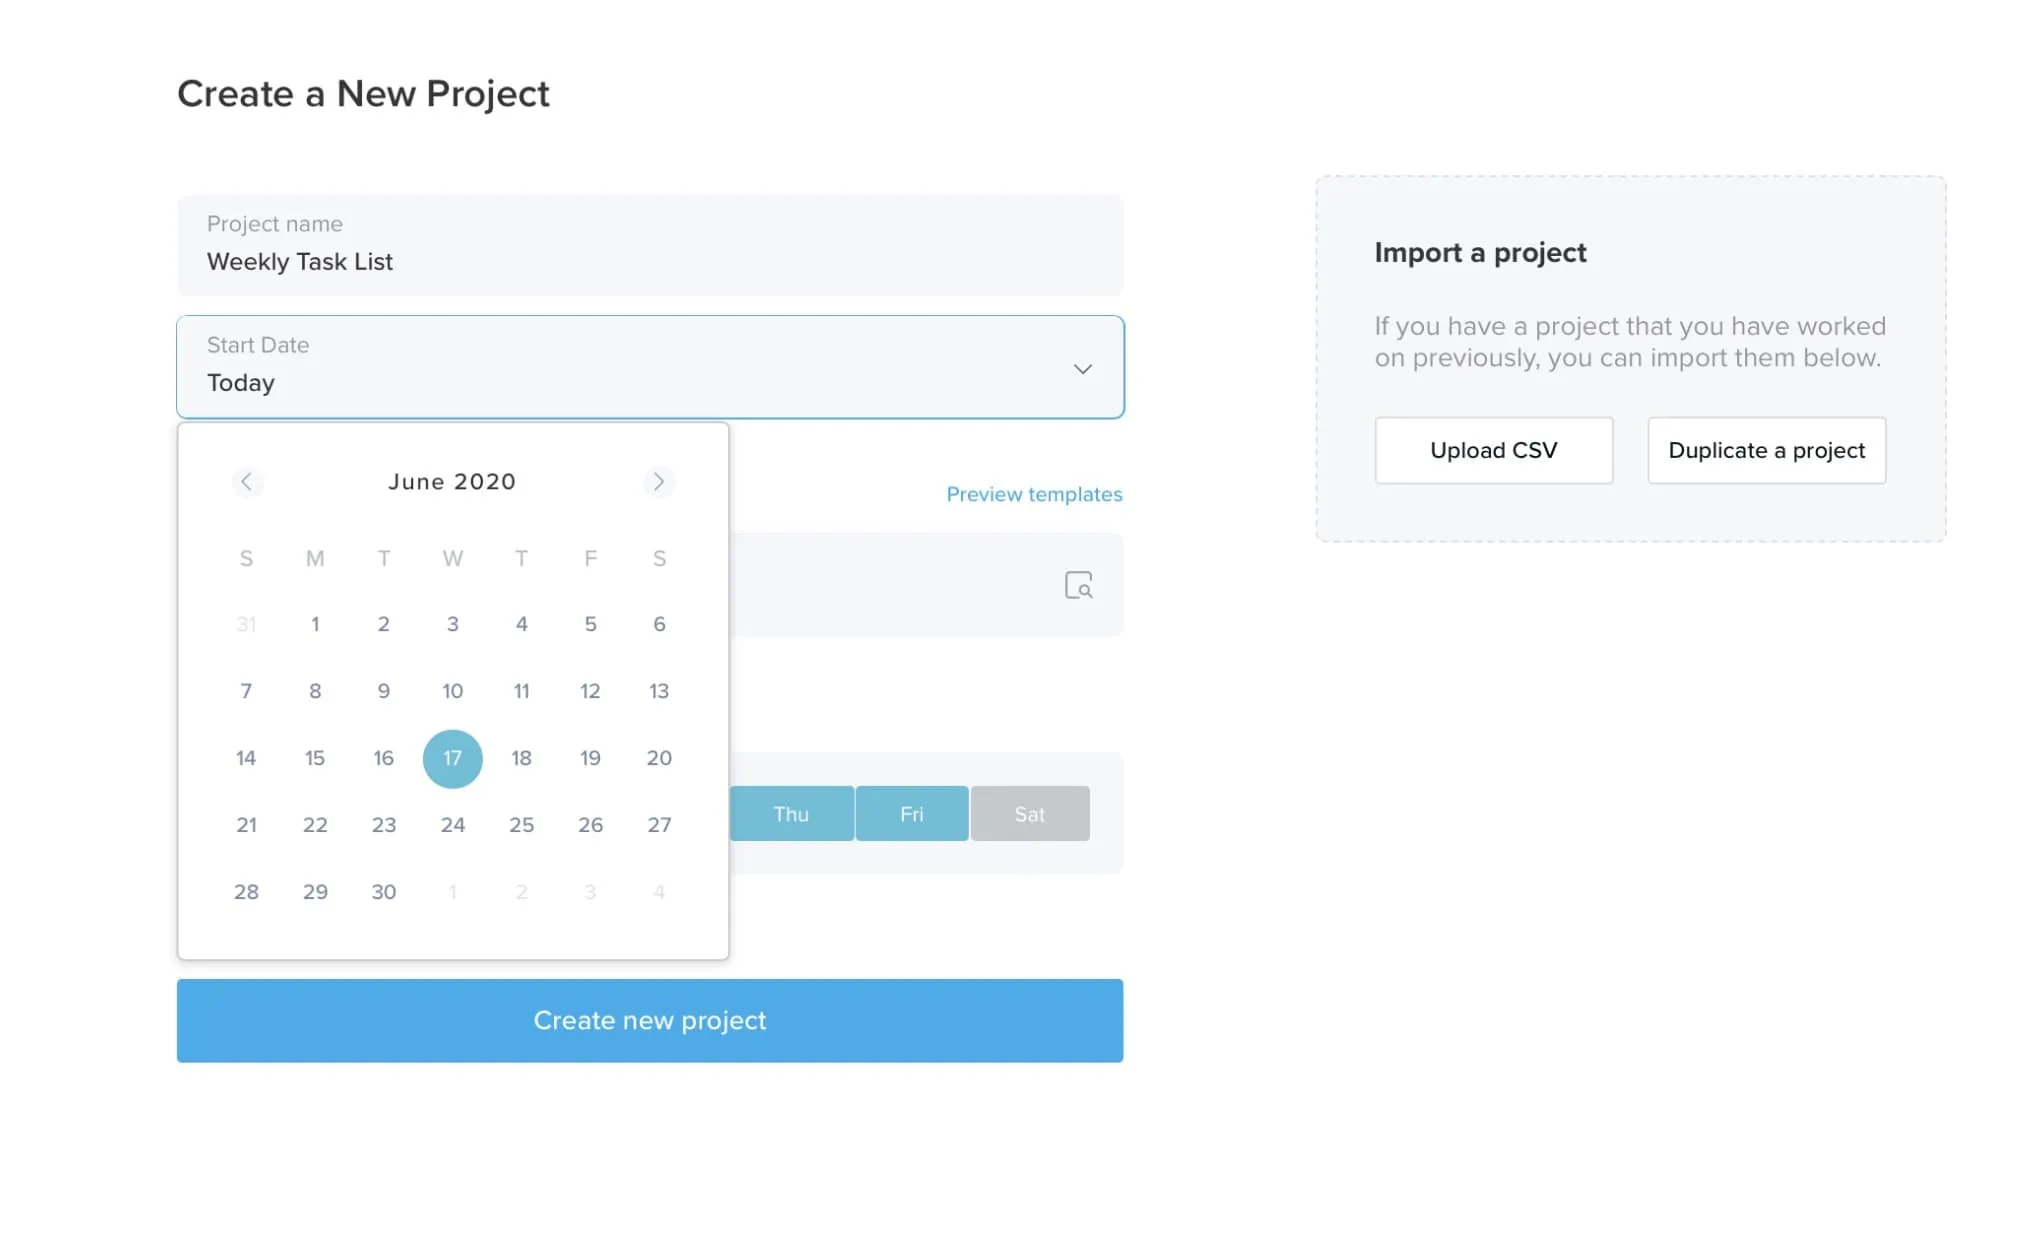
2. Then, choose a new Start Date, if you want your list to begin on a day other than today.
3. Next, decide whether you want to start from scratch with a blank project or choose a template from our handy library of pre-built options. To make things super easy for you, we created a Weekly Task List template.
Simply click on the Preview templates icon, expand the Admin & Personal category, and select Weekly Task List to preview the template. If you’d like to use it, select Use Template in the bottom right corner of the window.
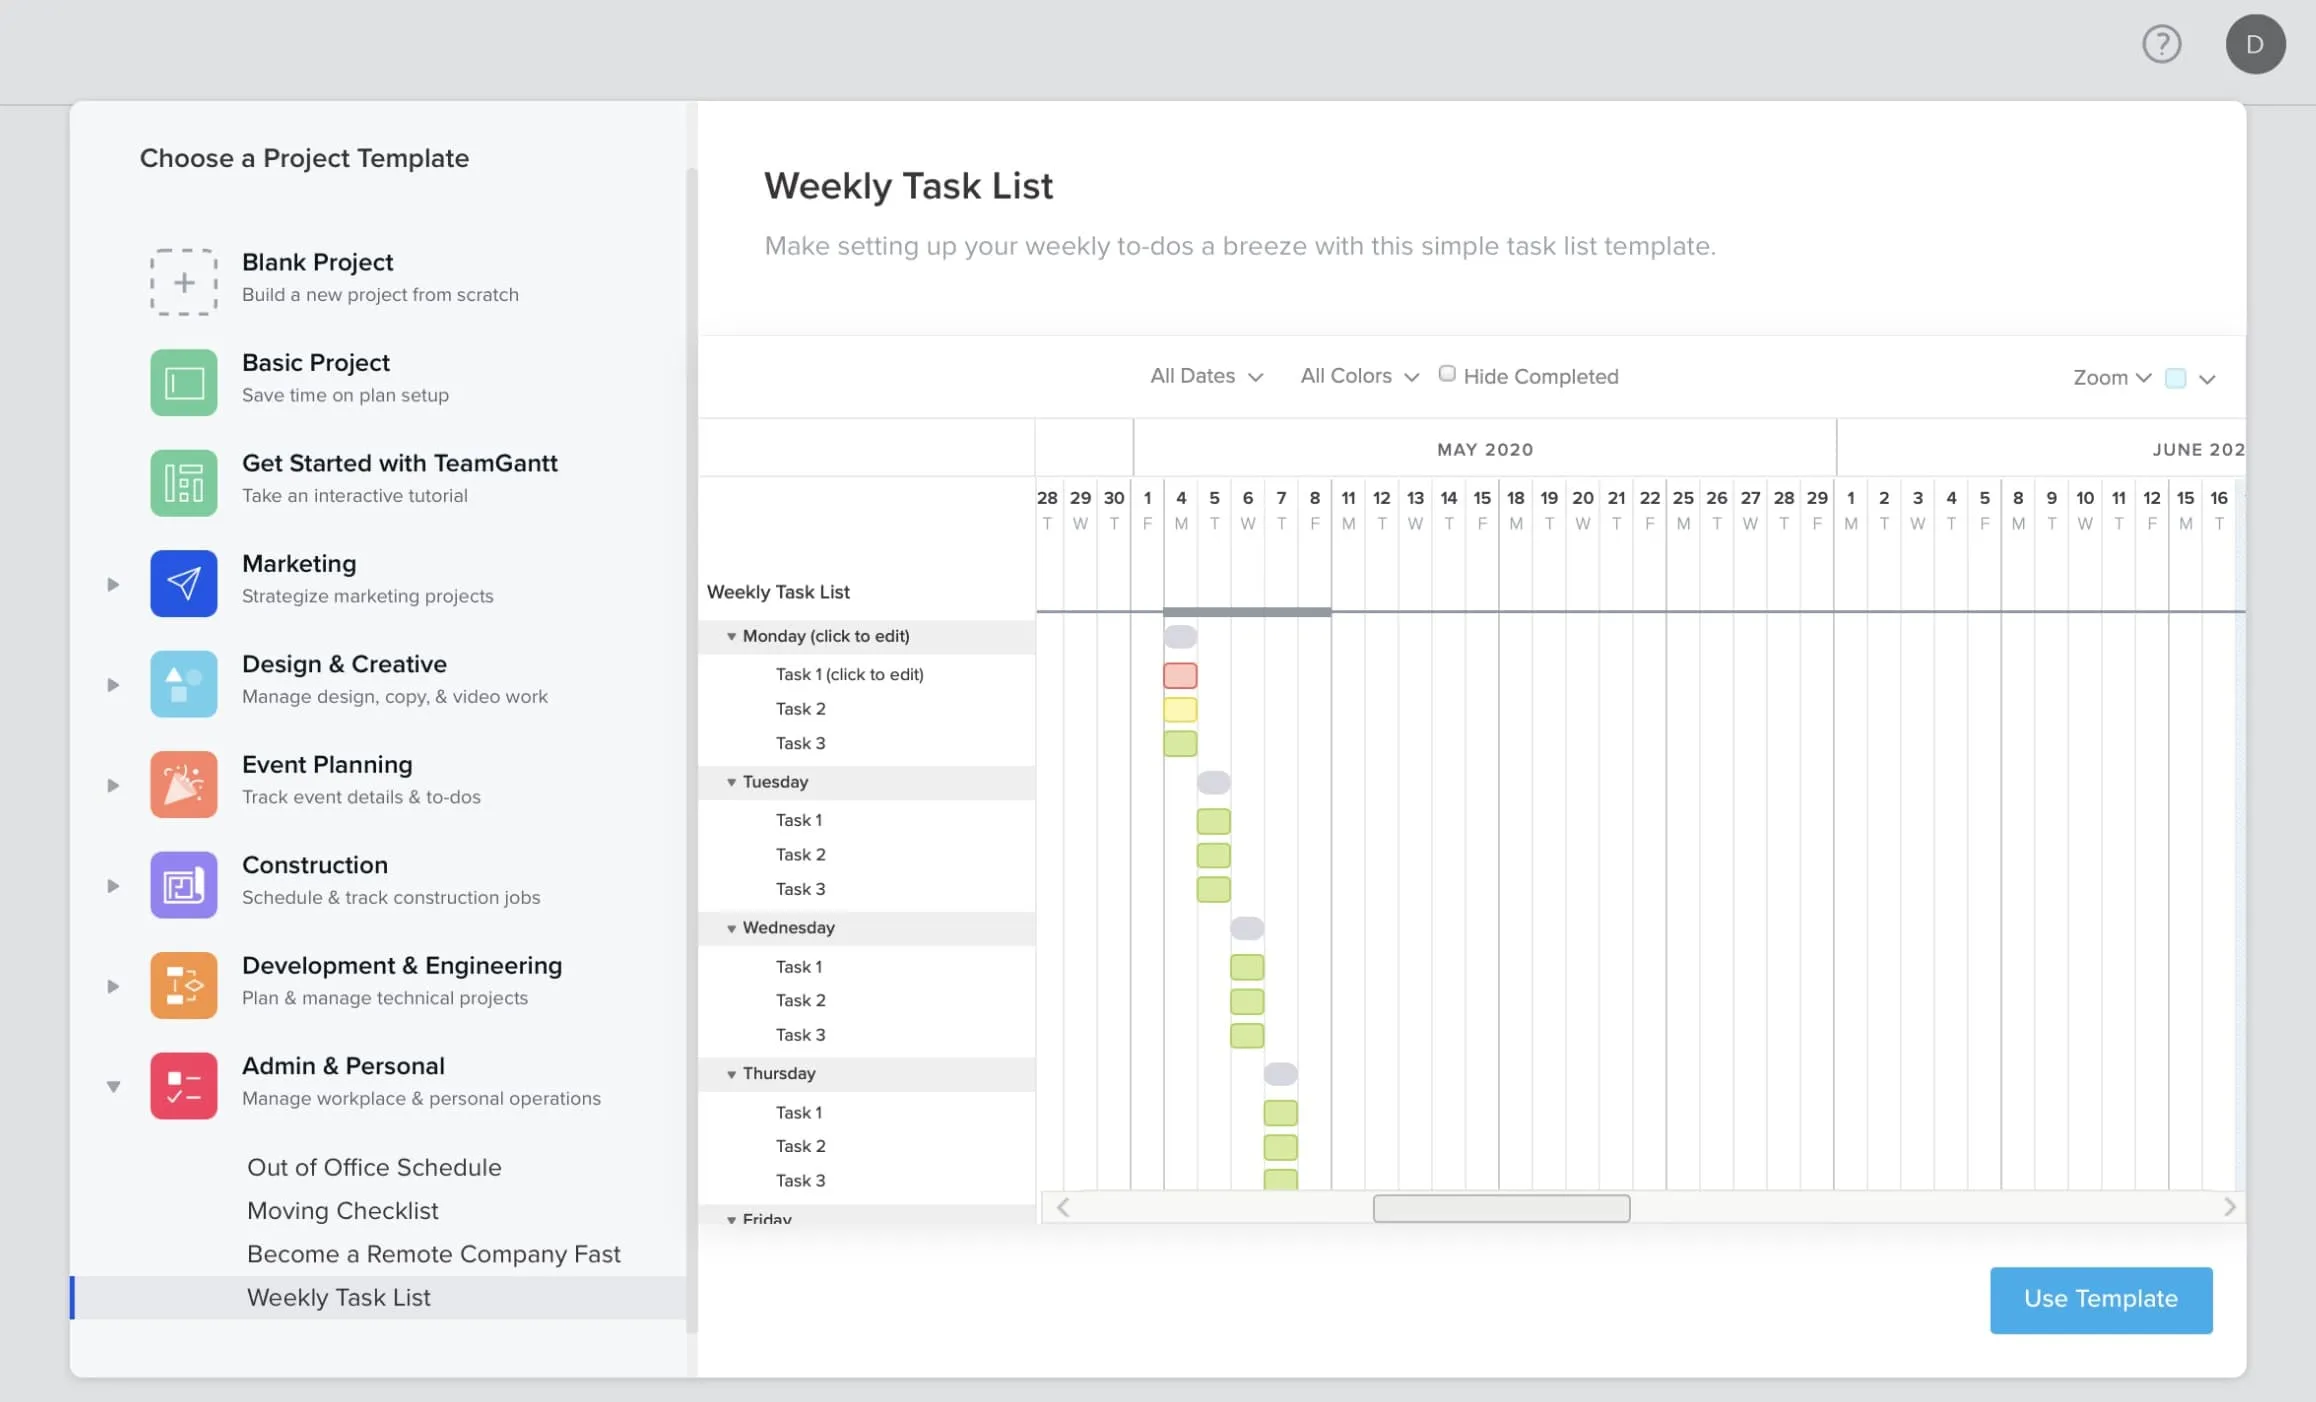
4. If not, feel free to choose a different template option or click anywhere outside of the preview window to return to the Create a new project page.
5. Next, select which days of the week you want to assign and track work for this project. The default is Monday through Friday, but you can choose any configuration of days that make sense for your work schedule.
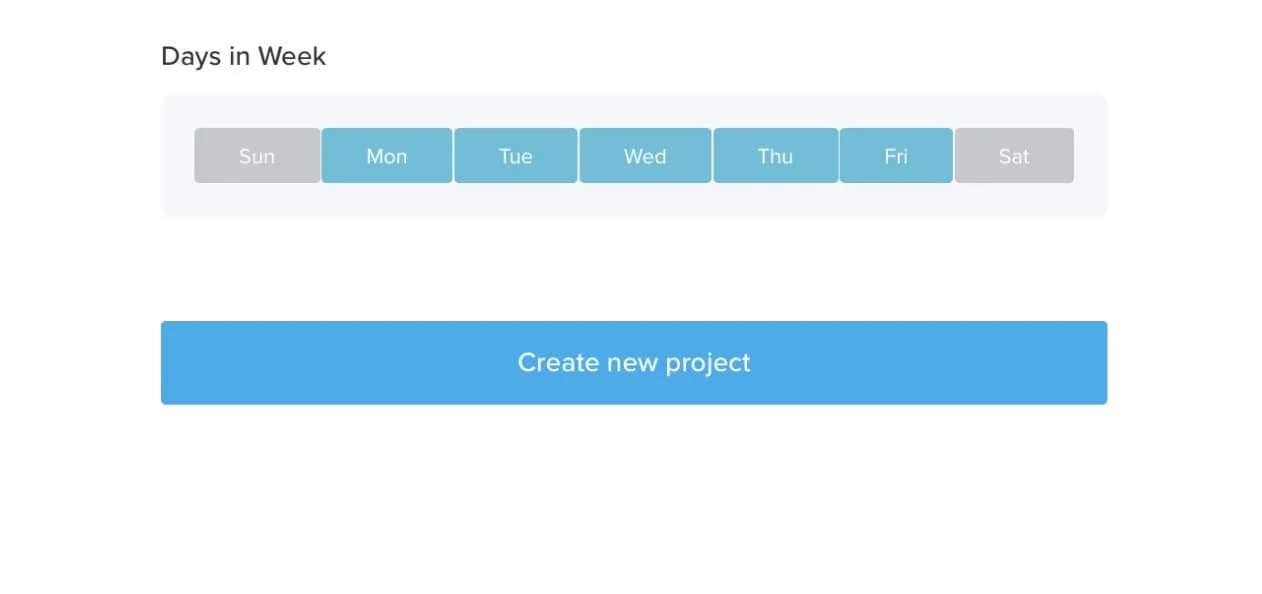
6. Finally, select Create new project to save your changes and get to work.
Now that you have a project, it’s time to set up your task list! We chose the Weekly Task List template for our example, which gives us a labeled task group for each day of the week.
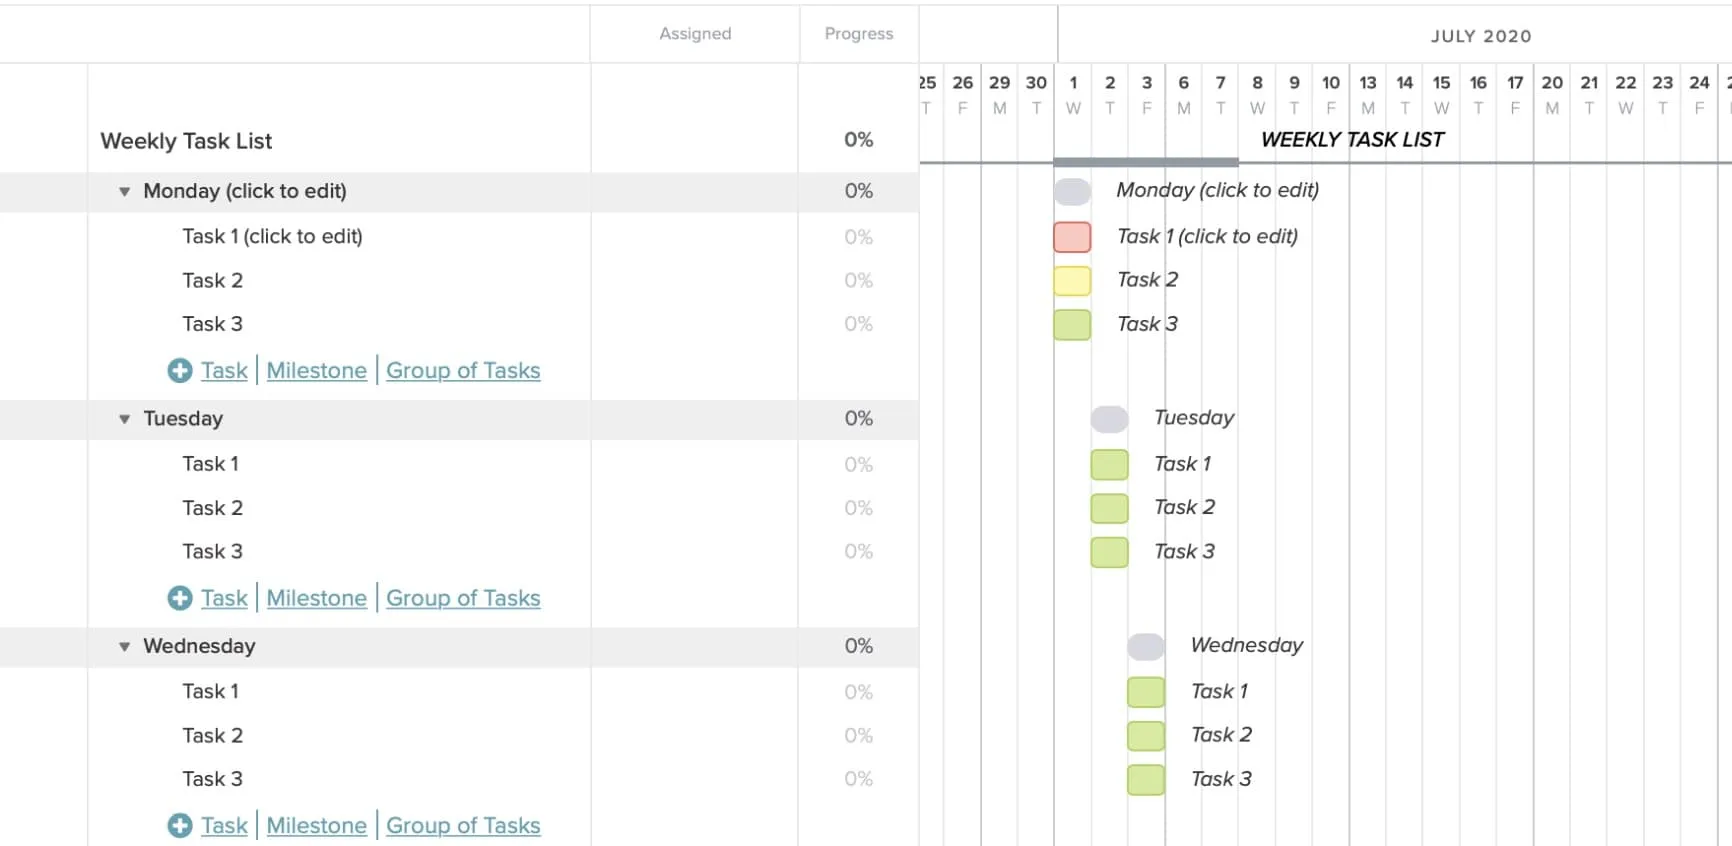
1. Simply click on each task group field, if you want to rename it.
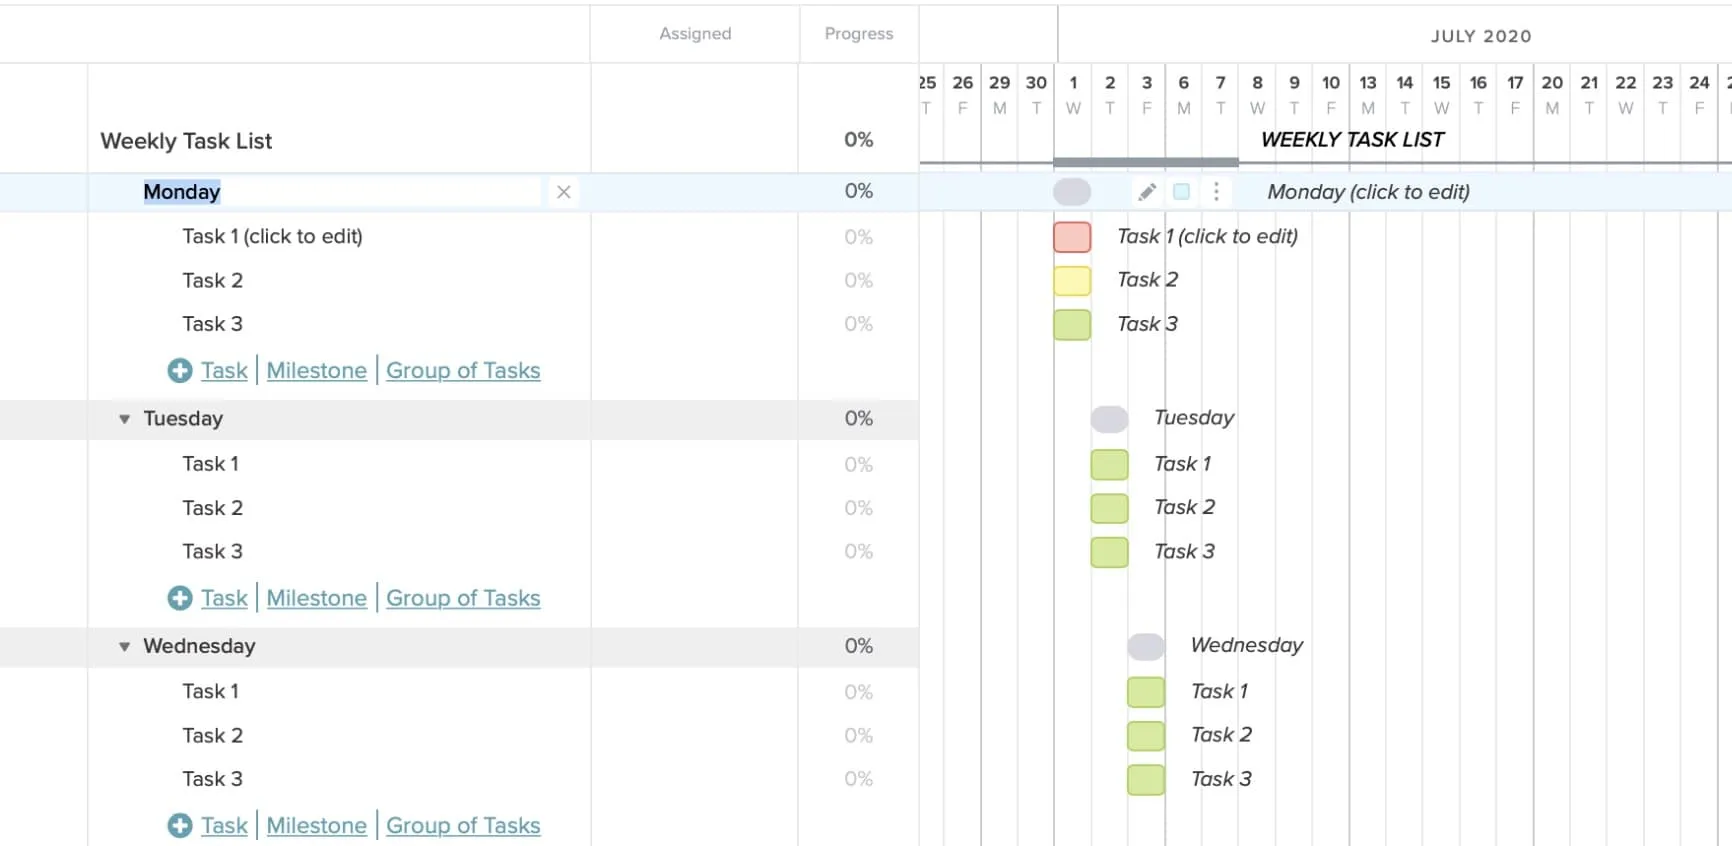
2. If you need to add more task groups, click +Group of Tasks, and enter the name of your new task group in the blank field that appears below.
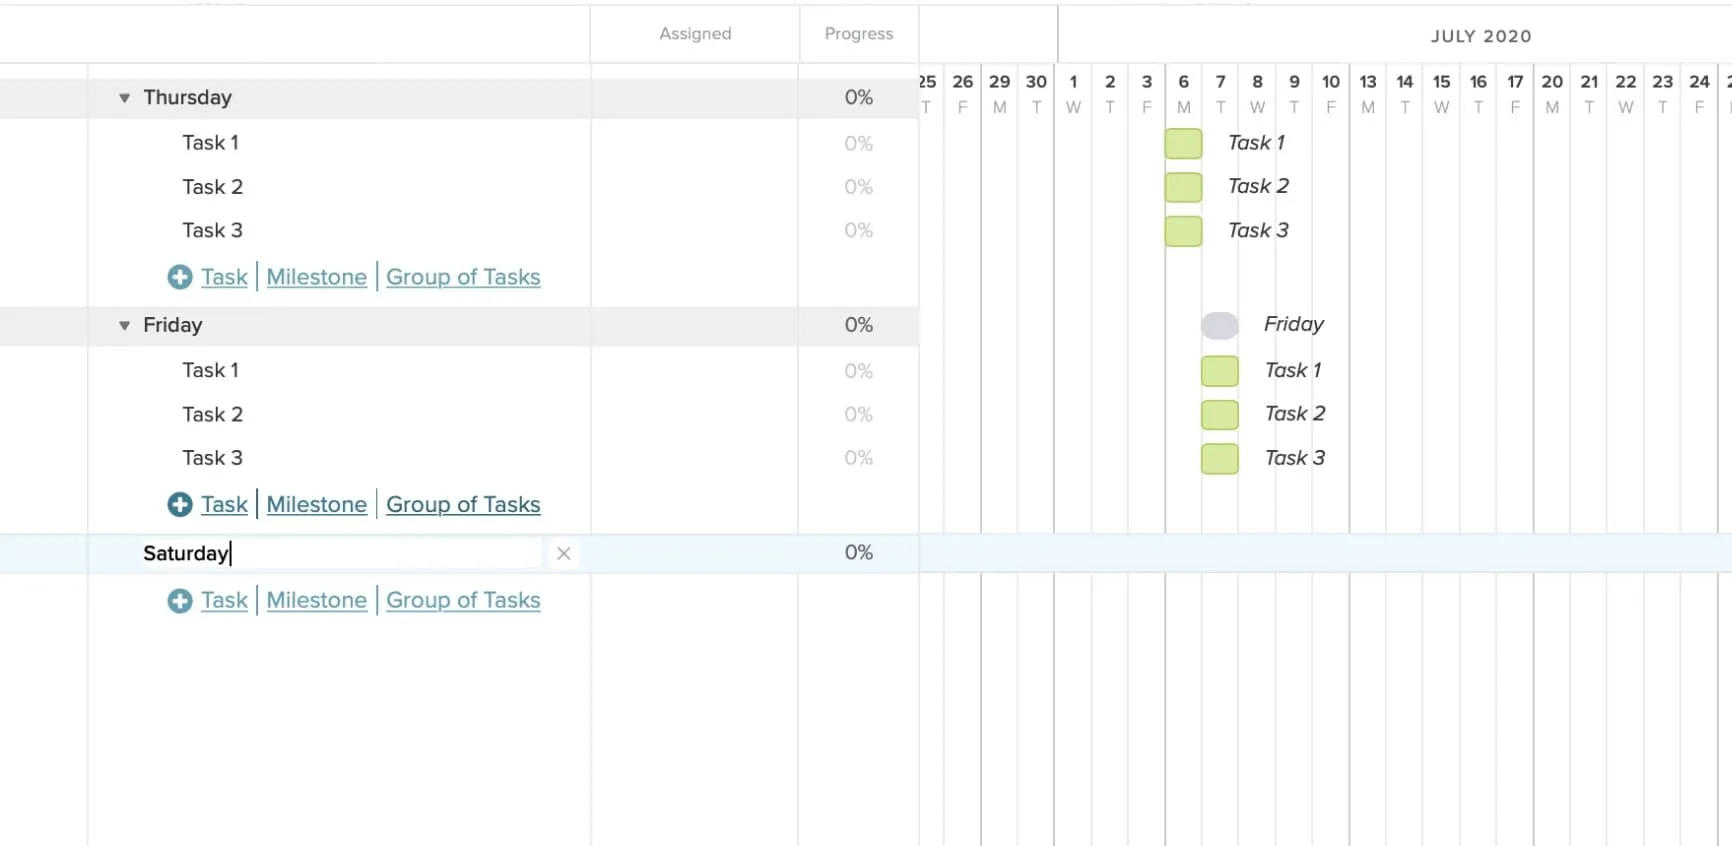
3. To add a new task, click +Task and enter a name in the blank that appears below. Then, use the drag-and-drop features to adjust the timelines for each task.
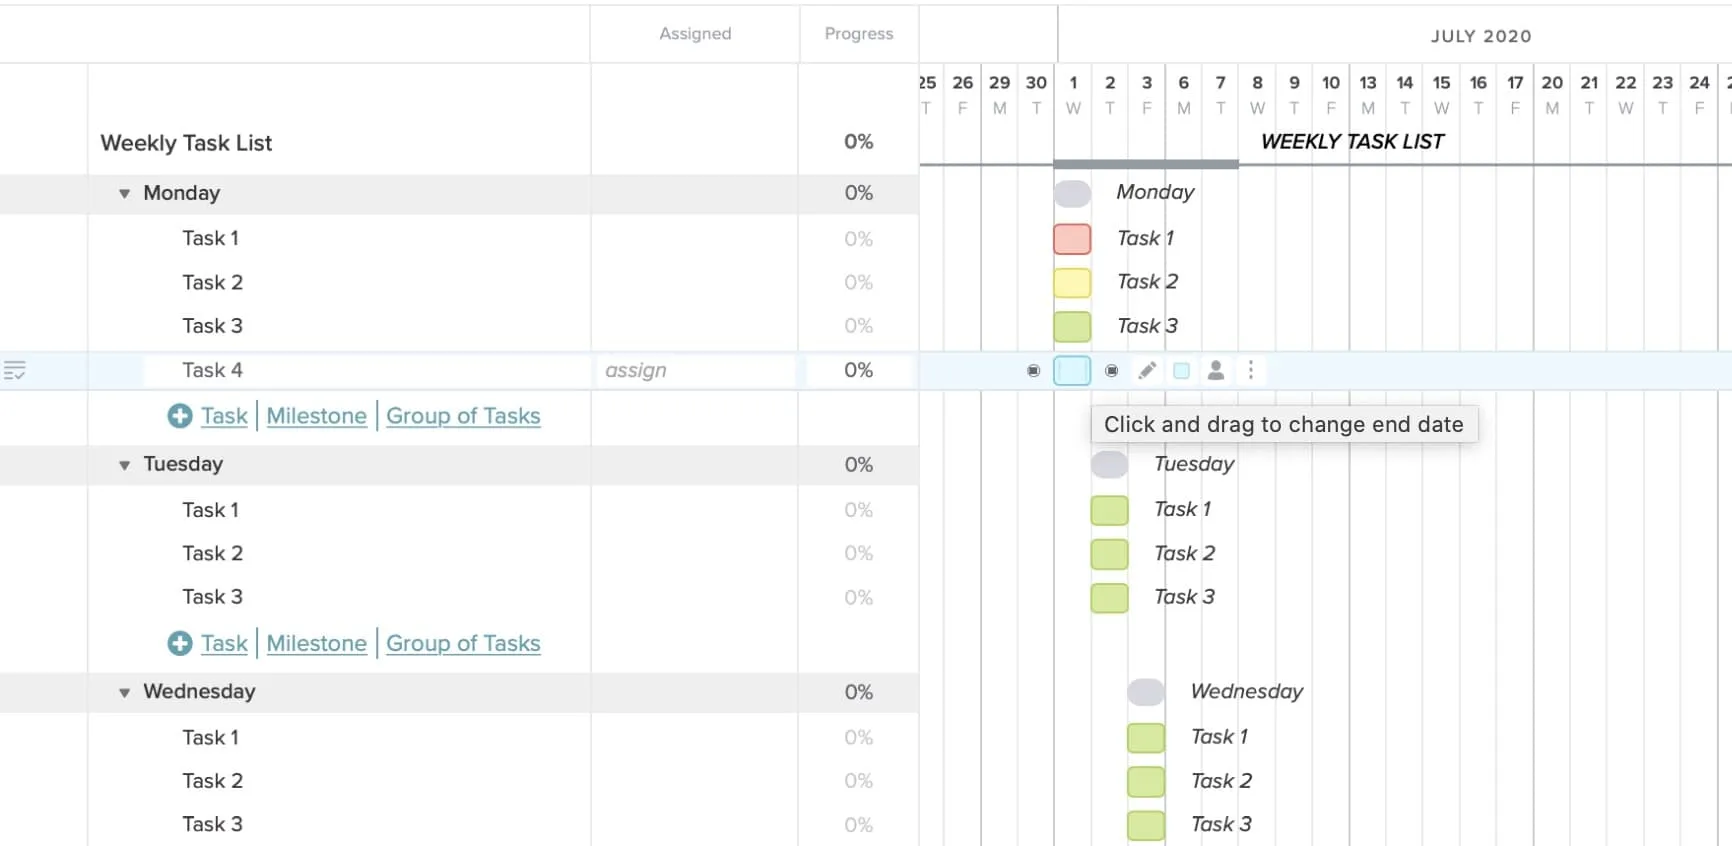
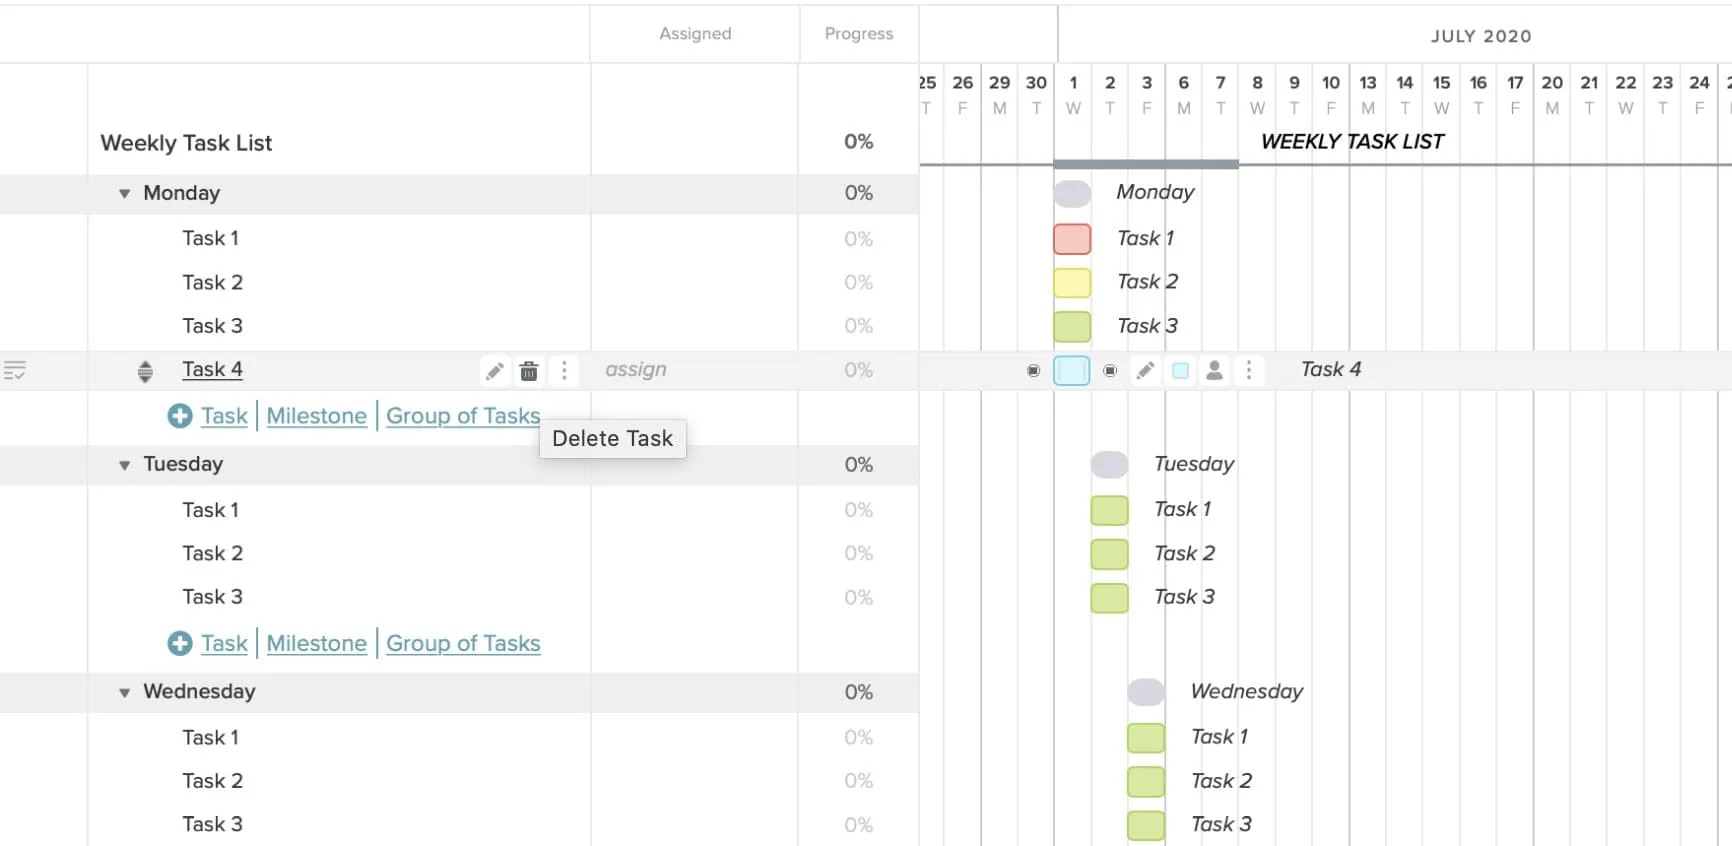
4. To delete a task, hover over it and select the trashcan icon that appears to the right of the task name.
To invite other users to your project, select the People tab in the top navigation bar of your project. Then, select Invite People to add new users by name and email address.

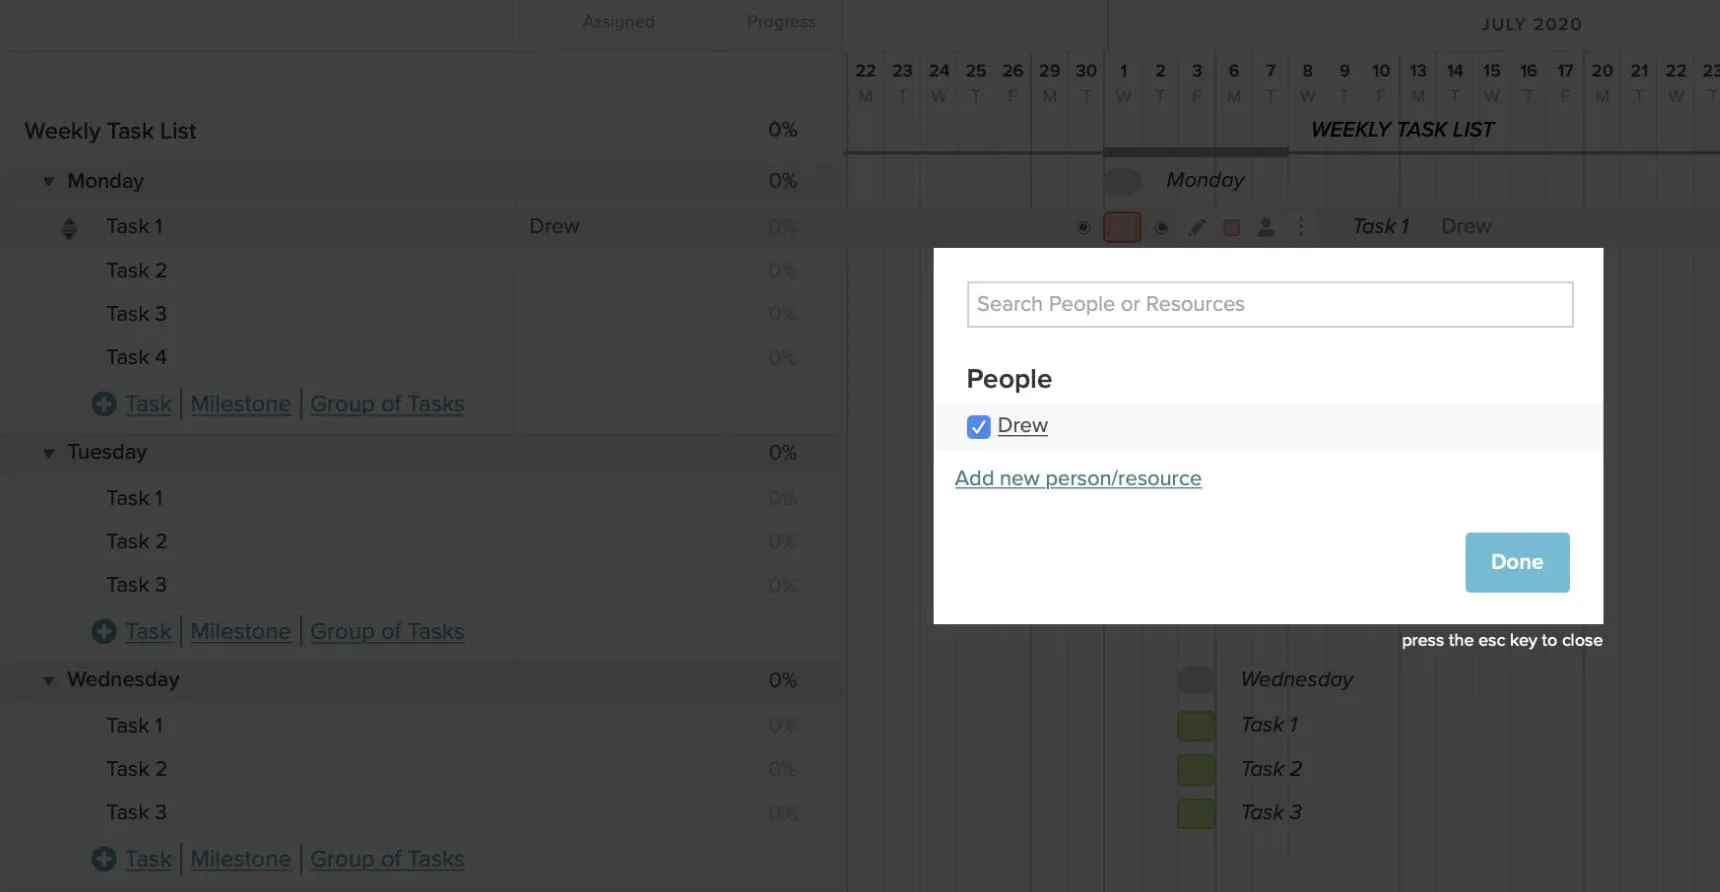
Once a user has been added to your project, designate them to a task by clicking assign in the Assigned column and selecting the checkbox next to their name.
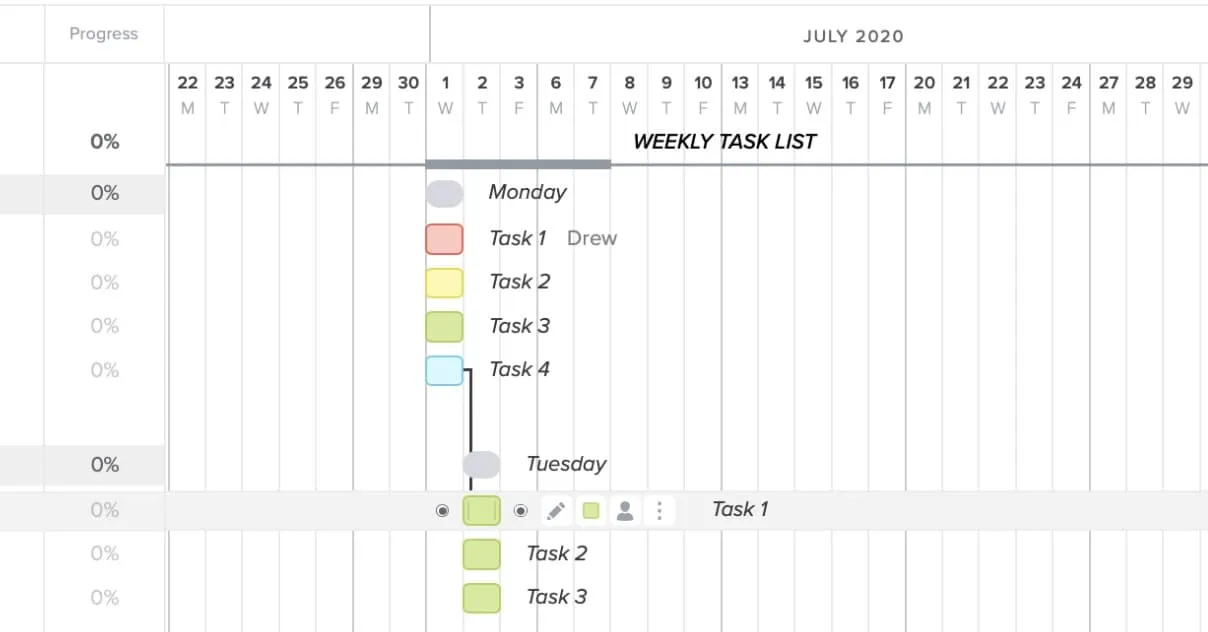
Dependencies enable you to control the order of tasks in your project. If one task has to wait for another to get done before it can begin, the dependency will account for that. For example, a designer may not be able to design a landing page until the content’s been written.
1. To add a dependency, click on the gray dot to the right of the first task in the gantt chart.

2. Then drag the dependency line to connect it to the dependent task below.
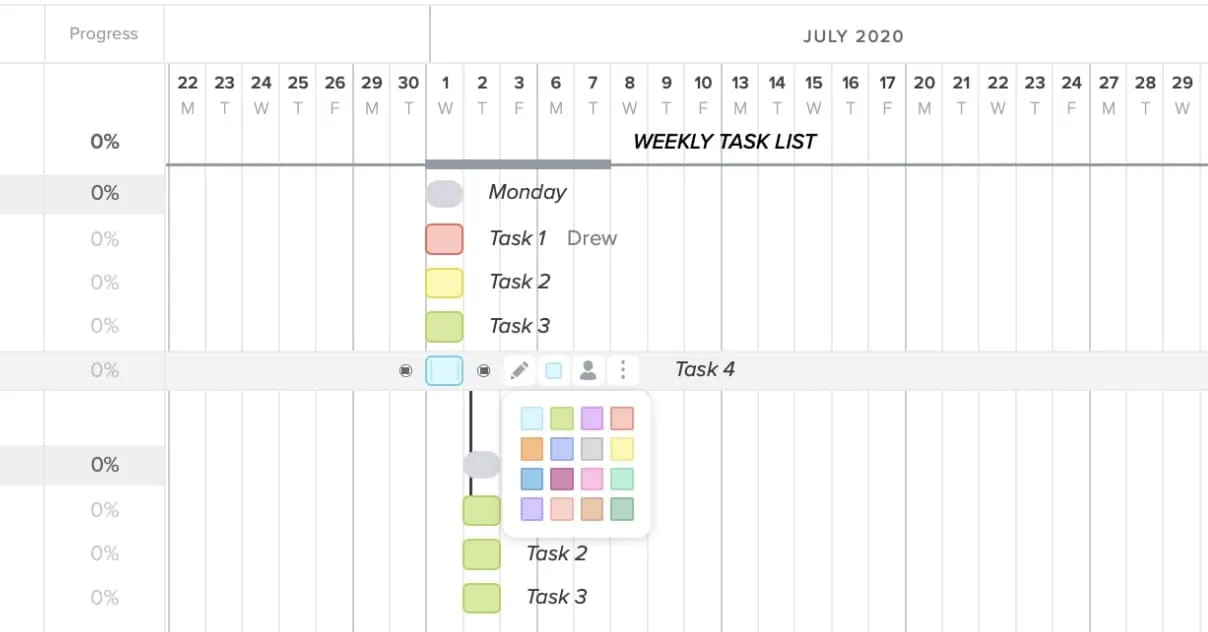
To change the color of a task, hover over the task, and choose a new color by clicking on the colored square that appears to the right of the task.
This is just a preview of all the fun you can have with task lists on TeamGantt—but there’s so much more to see!
Sign up for your free TeamGantt account today to learn all about the project management possibilities you could have at your fingertips.